Knee Replacement Diagram Generator
Make knee replacement diagrams for patient handouts: before and after, implant parts, and surgery steps. Based on AAOS OrthoInfo. Surgeon review needed.
Looking for a picture to understand a knee replacement? The examples below name the four implant parts. Ask your surgeon how your own operation differs.
Create Your Knee Replacement Diagram
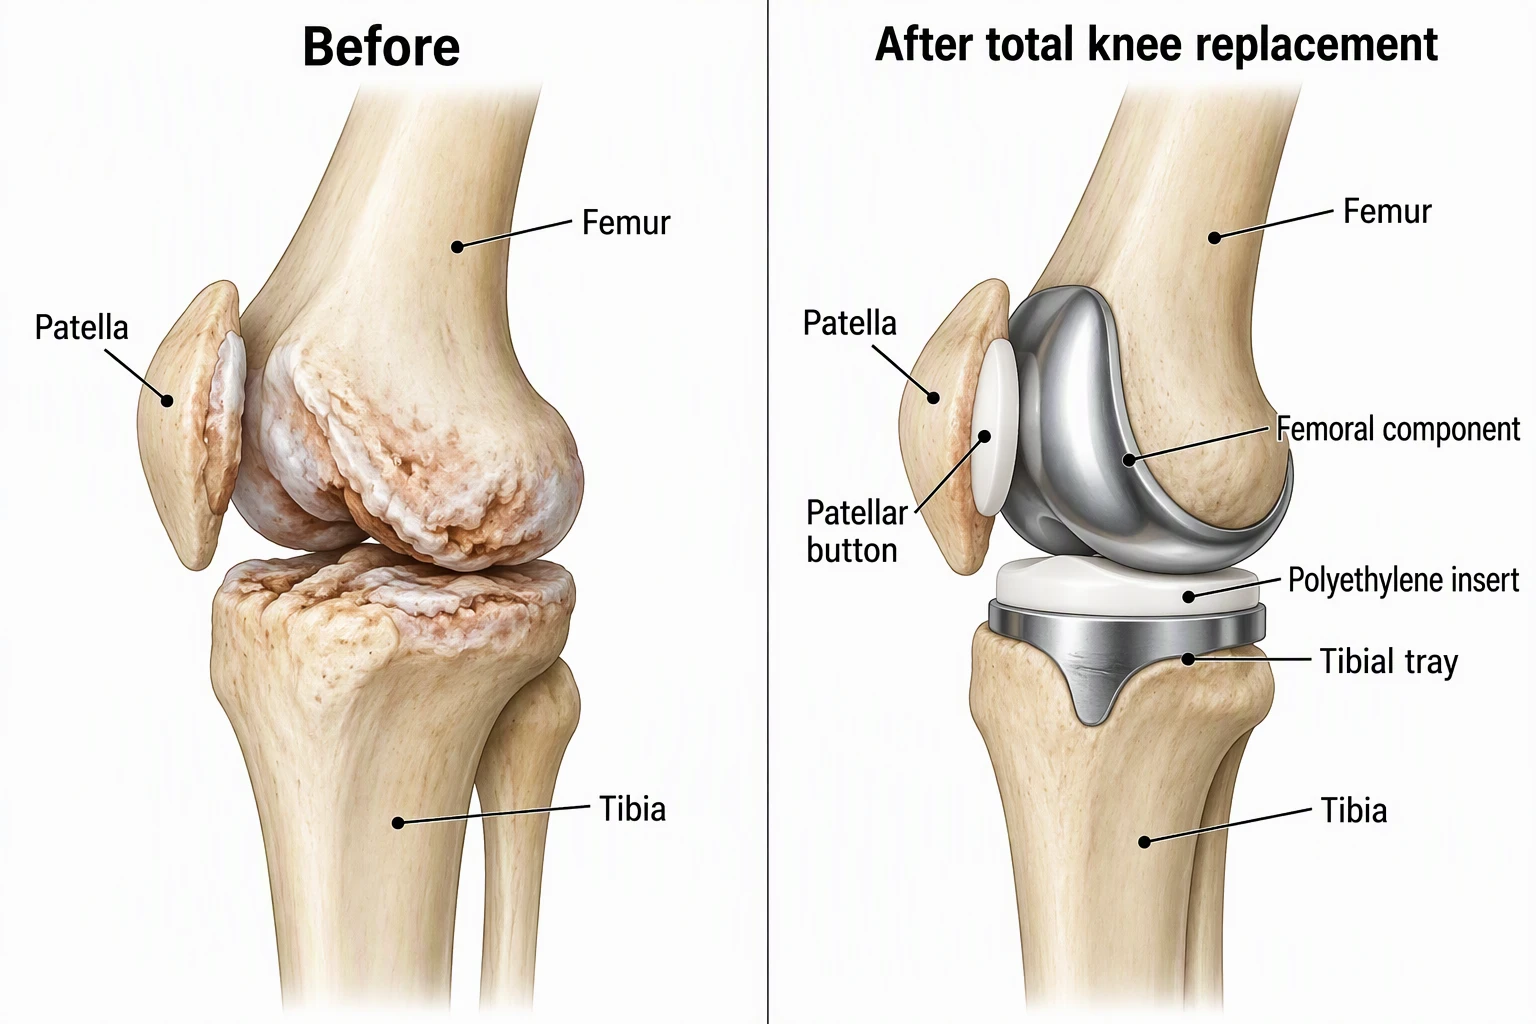 Example: Before and after knee replacementView full size
Preview is free on this page ·
Your knee replacement diagram will appear here
AI diagrams are drafts. Check that every implant part sits on the right bone and every label is correct, and have a clinician review before use with patients. No real patient data.
Knee Replacement Diagram Examples
Three AI diagrams, each compared with an official source and with known flaws noted. No real patients. A clinician should review every picture before patient use.
Before and after knee replacement (AI illustration)
AI-generated from the prompt shown, on the first try, and every label came out spelled as written. We compared the parts with the AAOS OrthoInfo page on total knee replacement (checked October 2026): metal implants on the end of the femur and the top of the tibia, a plastic spacer between the metal parts, and a plastic button on the underside of the kneecap. The picture puts each part in the right place, with the kneecap on the front, and it shows no incision, vessels or nerves. Known flaws: the view is a three-quarter angle rather than a strict side view, and the two panels do not show the same pose or bone shape, so do not use it to show exact change in position; both panels are bone only, with no cartilage drawn on the "Before" side beyond a rough worn surface, and no ligaments or tendons; the tibial tray is drawn with a stem, and real tray designs vary; the femoral component looks like a smooth shell and does not show the flat bone cuts that sit under it; the fibula is drawn beside the tibia but not labeled; the label "Femoral component" runs close to the right edge of the image; and AAOS says some surgeons do not resurface the kneecap, so not every replacement has a patellar button. It is one generic implant design, not any particular brand.
Knee implant parts, exploded view (AI illustration)
AI-generated from the prompt shown, on the first try, and all seven labels came out spelled as written. The stack runs in the right order from top to bottom: femur, metal femoral component, white polyethylene insert, metal tibial tray, tibia, with the patellar button next to the kneecap. That matches the parts OrthoInfo describes (checked October 2026). Known flaws: it is not to scale; the femoral component and tray are smooth generic shapes; the patellar button is drawn on a single peg, and real buttons can have several lugs; the end of the femur shows a rough cut surface without the several flat cuts a real knee gets; bone cement or press-fit fixation (OrthoInfo says either can be used) is not shown; the kneecap is pulled to the side, so the picture does not show how the button faces the femoral component once assembled. Use it to name the parts, not to show how they are fitted.
Knee replacement in 4 steps (AI overview)
AI-generated from the prompt shown, on the first try, and every word came out as written. It shows a bone model only: no skin, incision, blood, vessels, nerves or muscles. We compared it with the OrthoInfo steps (checked October 2026): remove damaged cartilage and a small amount of bone from the femur and tibia, position the metal implants, resurface the kneecap if indicated, and insert the plastic spacer. Known flaws: panel 1 shows the damaged surfaces but not the bone cuts that OrthoInfo describes under "Prepare the bone"; the order is the order we asked for (femur, tibia with insert, then kneecap), and OrthoInfo lists the kneecap before the spacer, so a real operation may follow a different order; the kneecap floats beside the knee in panels 1 to 3 and the kneecap button in panel 4 is large next to the patella; the fibula is drawn but not labeled; "Completed knee (bent)" sits in the corner without a leader line. It leaves out anesthesia, the incision, cementing, the operating time and everything done to protect the surrounding tissue, and it is not a surgical technique guide.
Need the natural knee first? Use the Knee Anatomy Diagram Generator. For dental handouts try the Root Canal Procedure Diagram Generator, for other body parts the Medical Illustration Generator, and for charts and posters the Medical Infographic Maker. Sources, checked October 2026: AAOS OrthoInfo: Total Knee Replacement and MedlinePlus: Knee Replacement.
What this page is for
This page is for orthopedic surgeons, nurses, physical therapists, patient educators, and students who need a knee replacement picture for a handout, a pre-op class, a clinic poster, or a lecture slide. You describe the picture and the exact wording, and the generator drafts it: a before and after pair, an exploded view of the implant parts, or a short step overview. It is a drafting tool, not a library of approved patient materials, and nothing here is a diagnosis or medical advice. An illustration is not a substitute for your surgeon's explanation, and a clinician should review every picture before it reaches a patient.
The parts of a total knee replacement
- AAOS OrthoInfo describes a total knee replacement as metal implants that replace the damaged surfaces at the lower end of the thighbone (femur) and the upper end of the shinbone (tibia), with a medical-grade plastic spacer between the metal parts that gives a smooth gliding surface. The underside of the kneecap (patella) may be resurfaced with a plastic button, and some surgeons do not do this step. The implants may be cemented or press-fit. Checked October 2026.
- In plain labels that is: femoral component, tibial tray, polyethylene insert, and patellar button. MedlinePlus describes total knee replacement as replacing three surfaces: the end of the thighbone, the top of the shinbone, and the back of the kneecap, and a partial knee replacement as replacing only part of the knee. Checked October 2026.
The steps, as OrthoInfo lists them
- OrthoInfo lists four steps. The surgeon removes the damaged cartilage at the ends of the femur and tibia along with a small amount of the underlying bone, positions the metal implants, resurfaces the patella if indicated, and inserts the plastic spacer between the metal parts. The operation usually takes about 1 to 2 hours, and anesthesia can be general or spinal, epidural or regional, chosen with the anesthesia team. Checked October 2026.
- Our four-panel example follows these ideas but is simplified, and its caption lists where it differs. If your handout needs anesthesia, how long the operation takes, or the recovery plan, write them into the prompt as separate panels or add them as text with a source.
Recovery and how long a knee replacement lasts
- OrthoInfo says some patients go home the same day and others stay at least overnight, that physical therapy often starts within hours of surgery, that many people resume most normal daily activities within 3 to 6 weeks, and that most people can drive again after about 4 to 6 weeks. It says more than 90 percent of modern knee replacements are still working well at 15 years. MedlinePlus says that after about 15 to 20 years the parts may loosen or wear and could need another surgery on the same knee. Checked October 2026.
- OrthoInfo and MedlinePlus list risks such as infection, blood clots, stiffness or scarring that limits bending, and nerve injury (OrthoInfo adds that injury to blood vessels is rare). We kept all of these out of the example pictures because the numbers depend on the patient, so put them in your own handout in your surgeon's words.
How this differs from our knee anatomy page
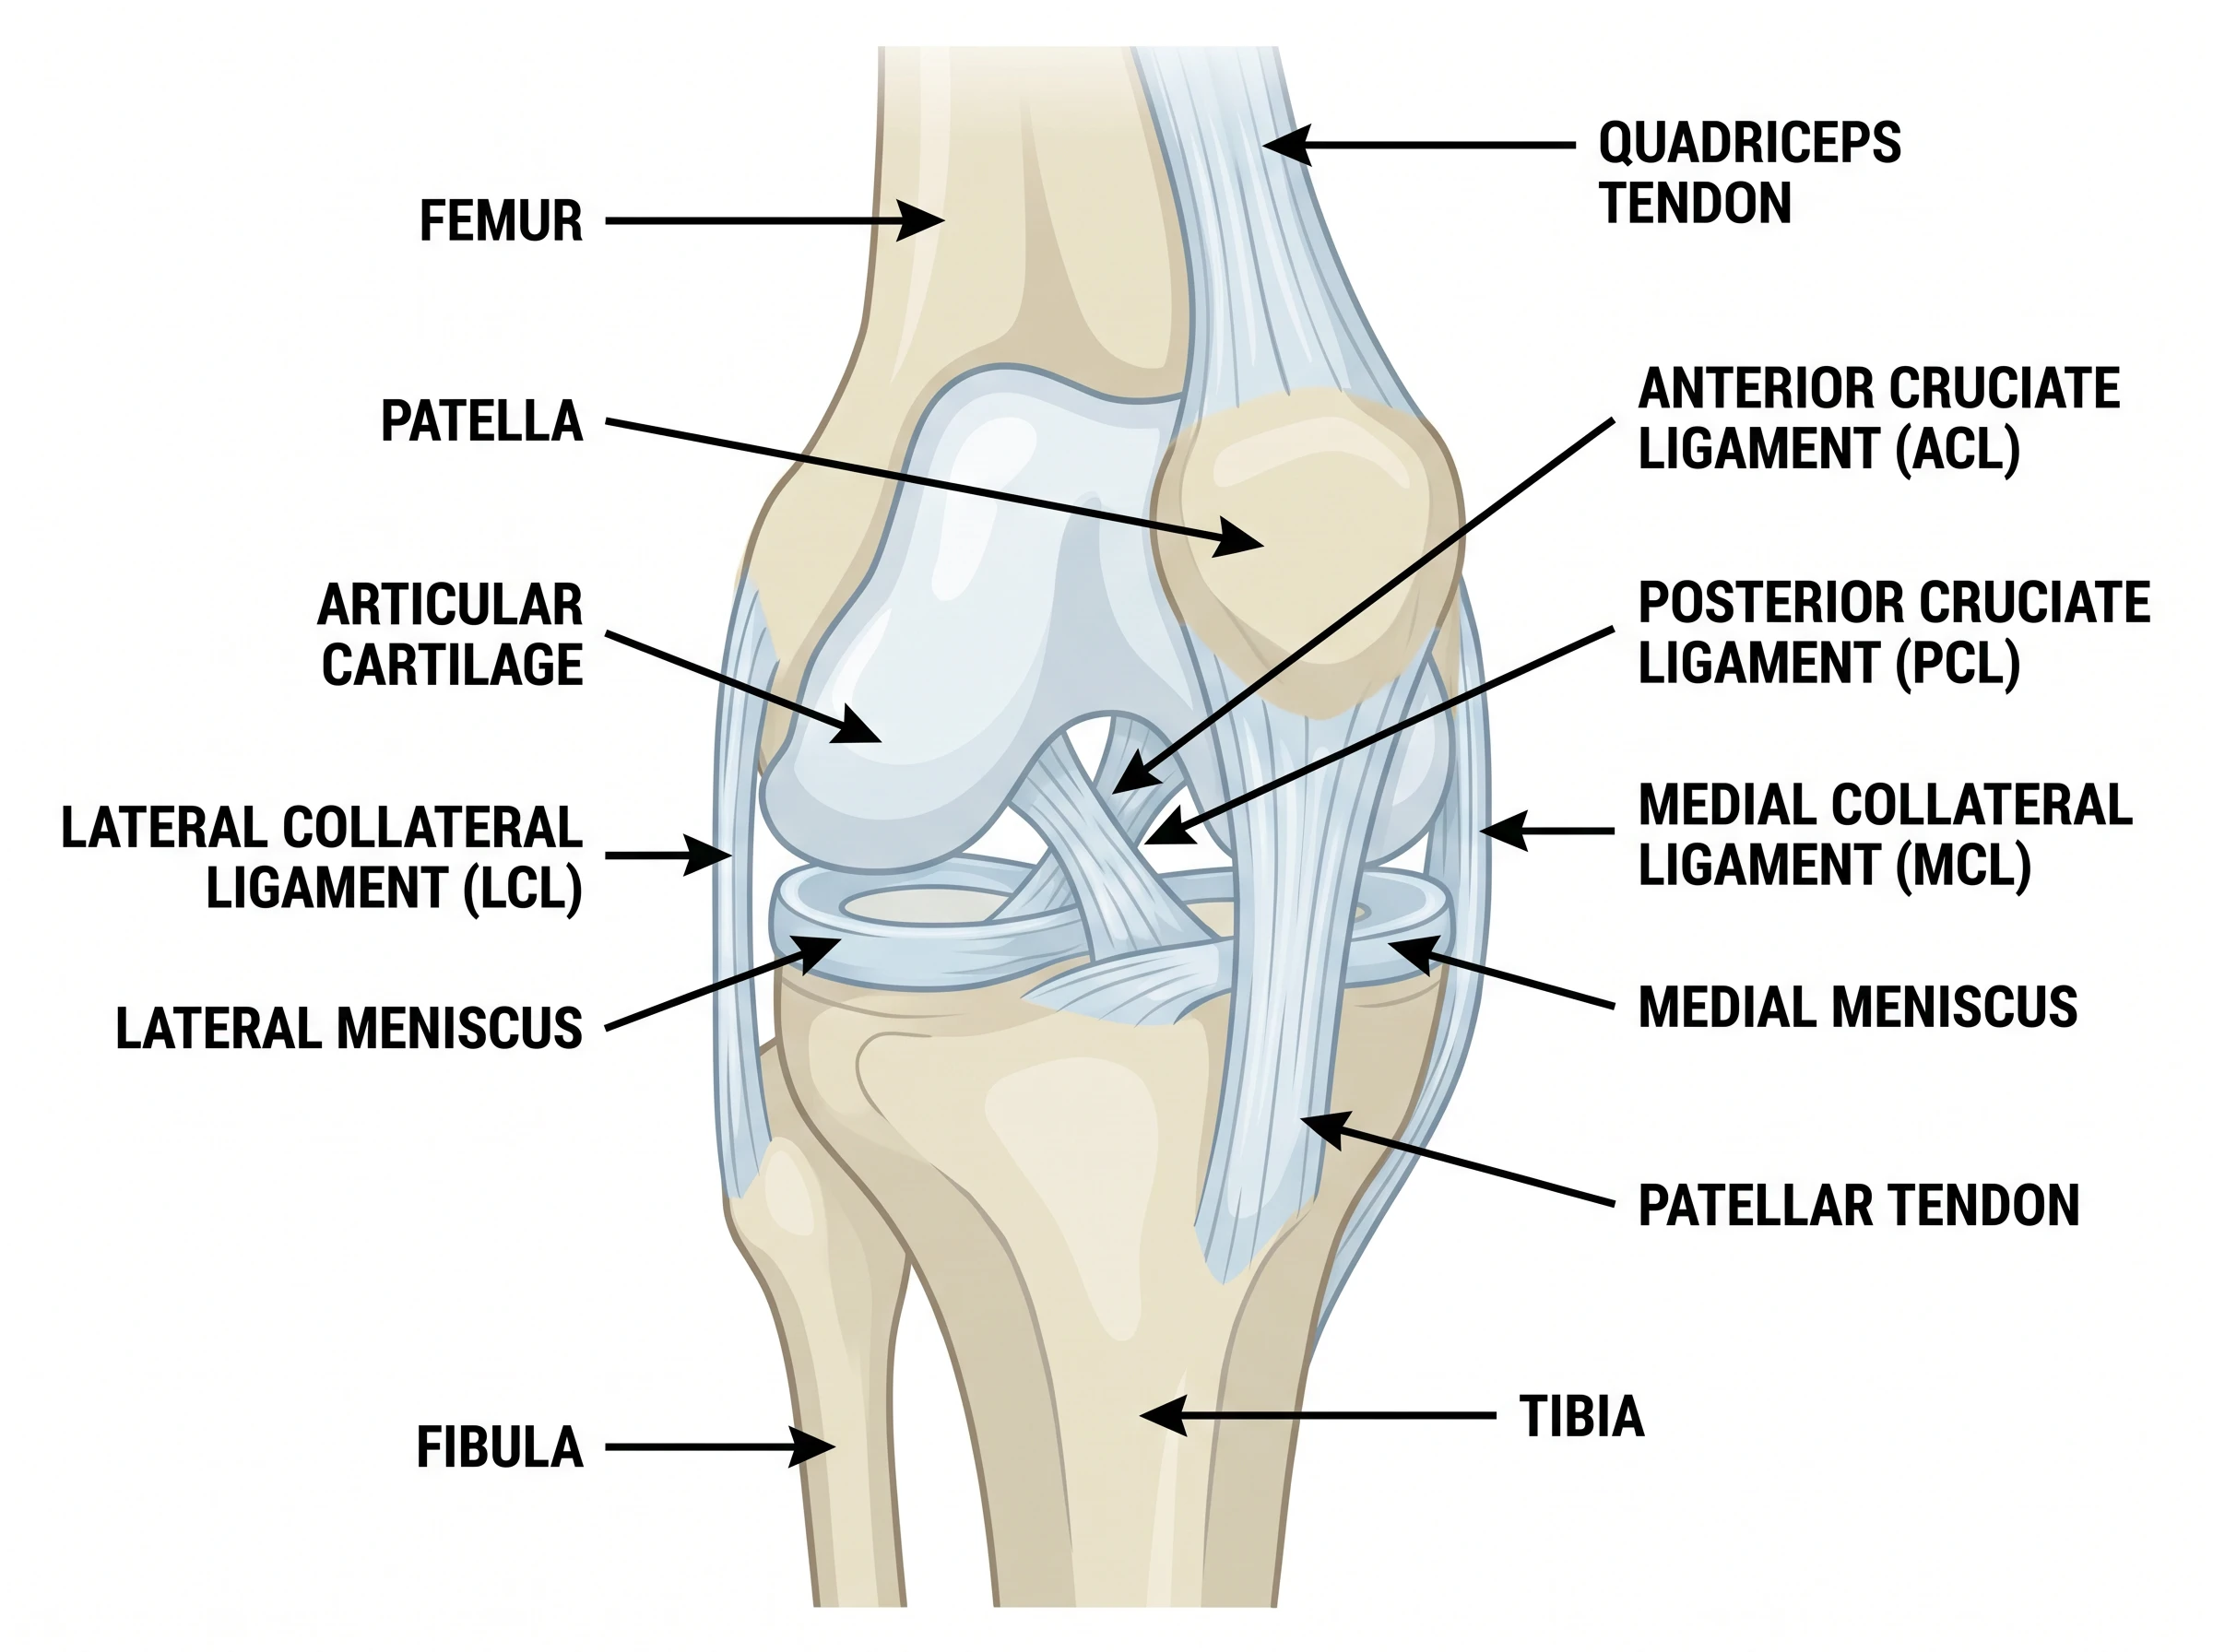
Our Knee Anatomy Diagram Generator is for students who need to see the structure of a natural knee: bones, ligaments, menisci and tendons. This page is for the surgeon or educator who has to show a patient what is put into the knee: the implant parts, where they sit, and the order of the operation. Use the anatomy page first if the learner has not yet seen the natural joint.
How to make a knee replacement handout you can defend
- Pick one message and one audience, such as "adult patients, what the implant is made of" or "nursing students, the parts of a total knee".
- Take the facts from a named source such as OrthoInfo or your own practice protocol, and write the parts and steps into the prompt as exact labels.
- Say which knee and which view: a right knee in side view with the kneecap facing left is easy to read, and AI sometimes mixes up left, right and front.
- Ask for a bone model only, with no incision, blood, vessels or nerves, and a calm style.
- Add the source, the date you checked it, and "For education only" as footer text.
- Generate, then read every word and check that the femoral component is on the femur, the tray is on the tibia, the insert is between them, and the button is on the back of the kneecap. If one thing is wrong, generate again.
- Have your surgeon or a qualified clinician review the picture and wording before it goes to a patient.
Accuracy and what AI gets wrong
The three pictures on this page were generated from the prompts shown, each on the first try, and each caption lists the flaws we found. The words came out right and every part was in the right place in all three. Even so, implants are drawn as one generic design; the bone cuts under the metal are not shown; there are no ligaments; and a step diagram is a simplified order, not a surgical technique. Other things to watch for in your own results are parts on the wrong bone, a kneecap button on the front of the kneecap instead of the back, left and right mixed up, extra or missing parts, misspelled labels, and drawings that look like a specific brand of implant. Treat each picture as a draft. It does not diagnose, it does not give medical advice, and it must be reviewed by a qualified clinician before use with patients.
Keep it calm
Patients who read a surgery handout are often anxious. Prefer soft colors, a bone model without incisions or blood, and plain words such as "resurface the femur". The examples here leave out the incision, vessels and nerves on purpose.
Privacy and use with patients
Do not enter patient names, dates of birth, record numbers, x-rays, or real patient results. Describe the knee in general terms. Check your practice's policy on AI tools and on what may go into patient materials, and follow its review and sign-off rules.
Free trial and downloads
Start free with 2 image credits, valid for 7 days, no card required. Free accounts download PNG or JPG.
Frequently Asked Questions
Related Medical Tools
 Medical
Knee Anatomy Diagram Generator
Labeled diagrams of the natural knee: bones, ligaments, menisci, and tendons.
 Medical
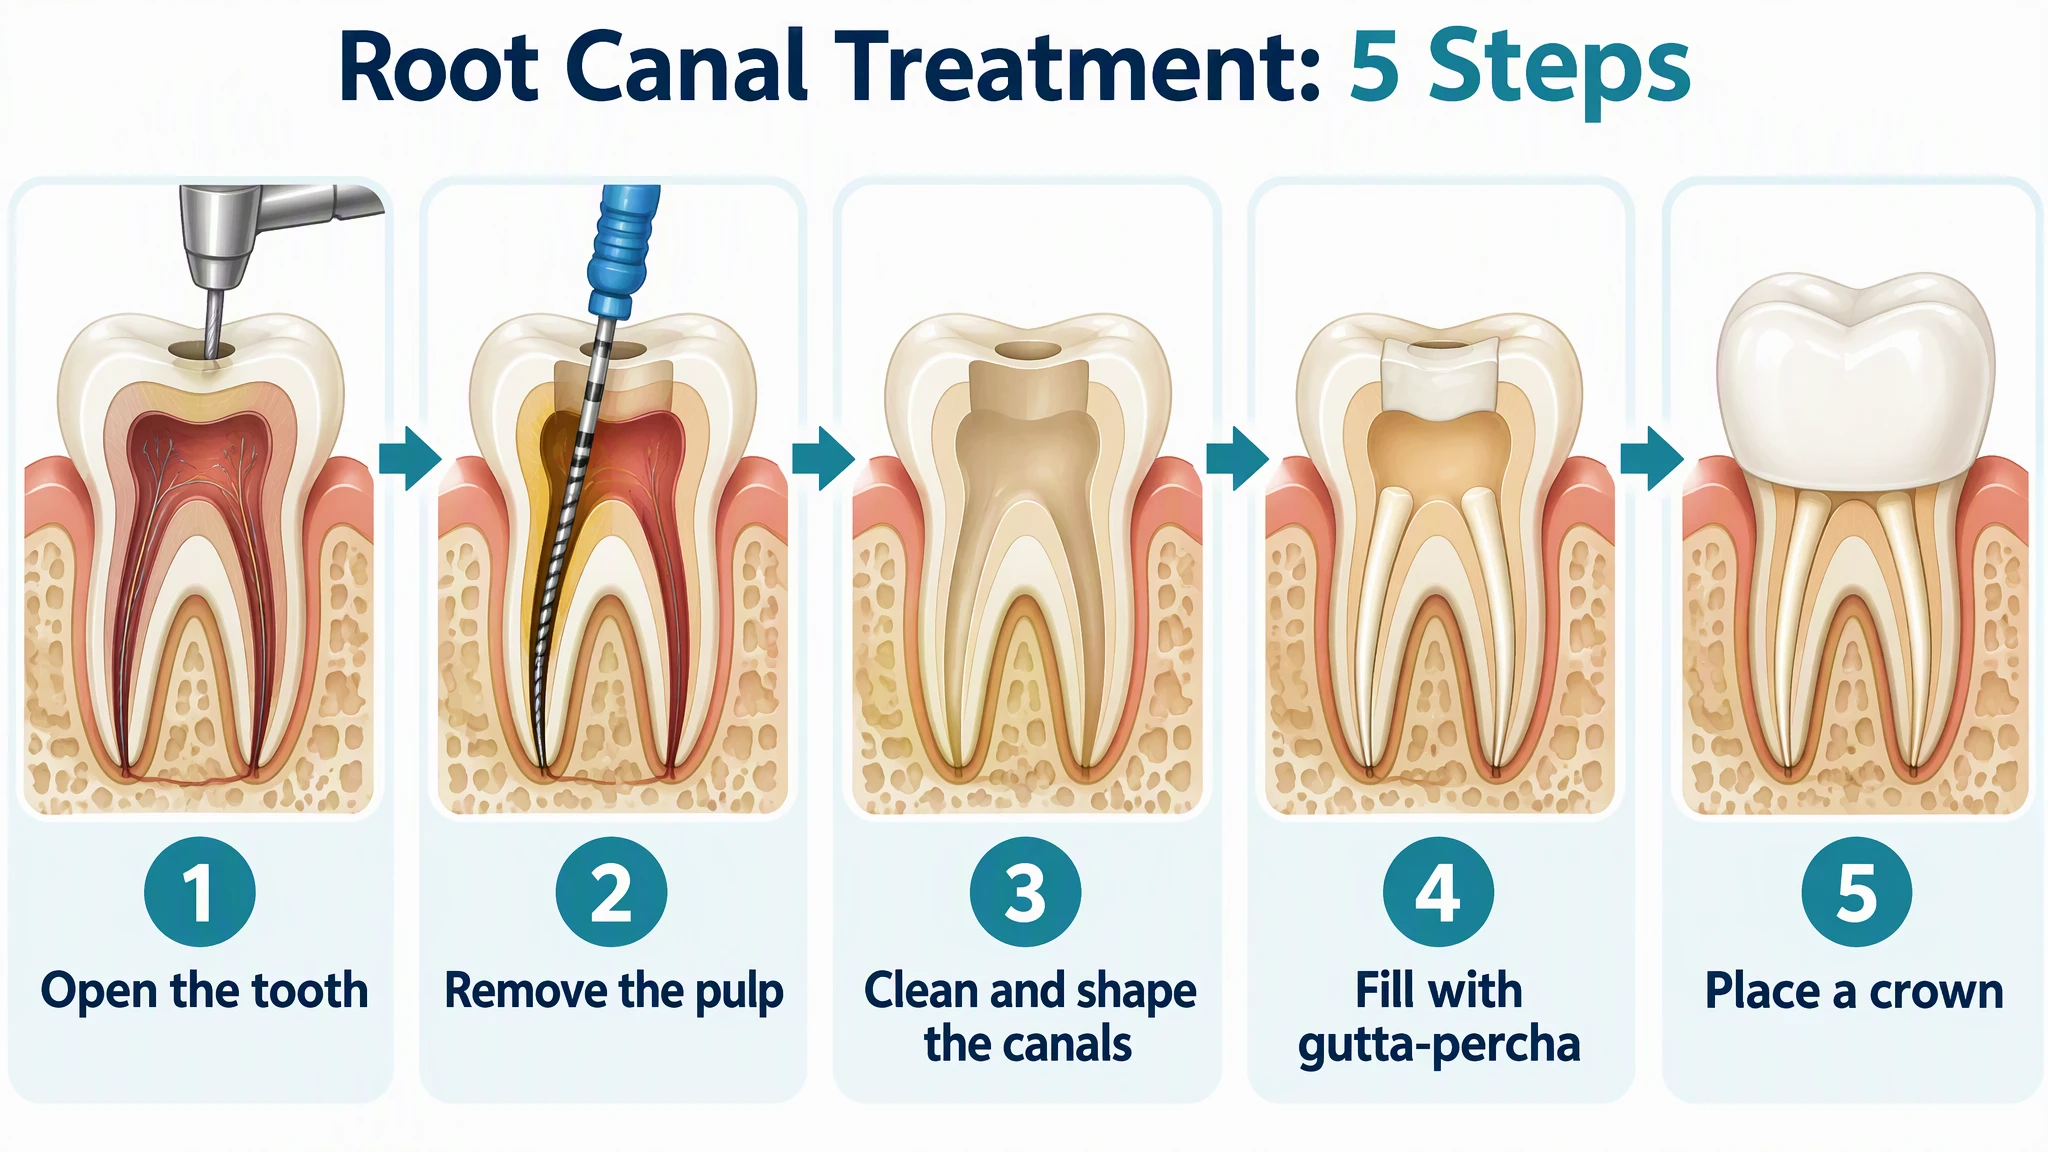
Root Canal Procedure Diagram Generator
Step diagrams, cutaways, and before and after pictures for dental patient handouts.
 Medical
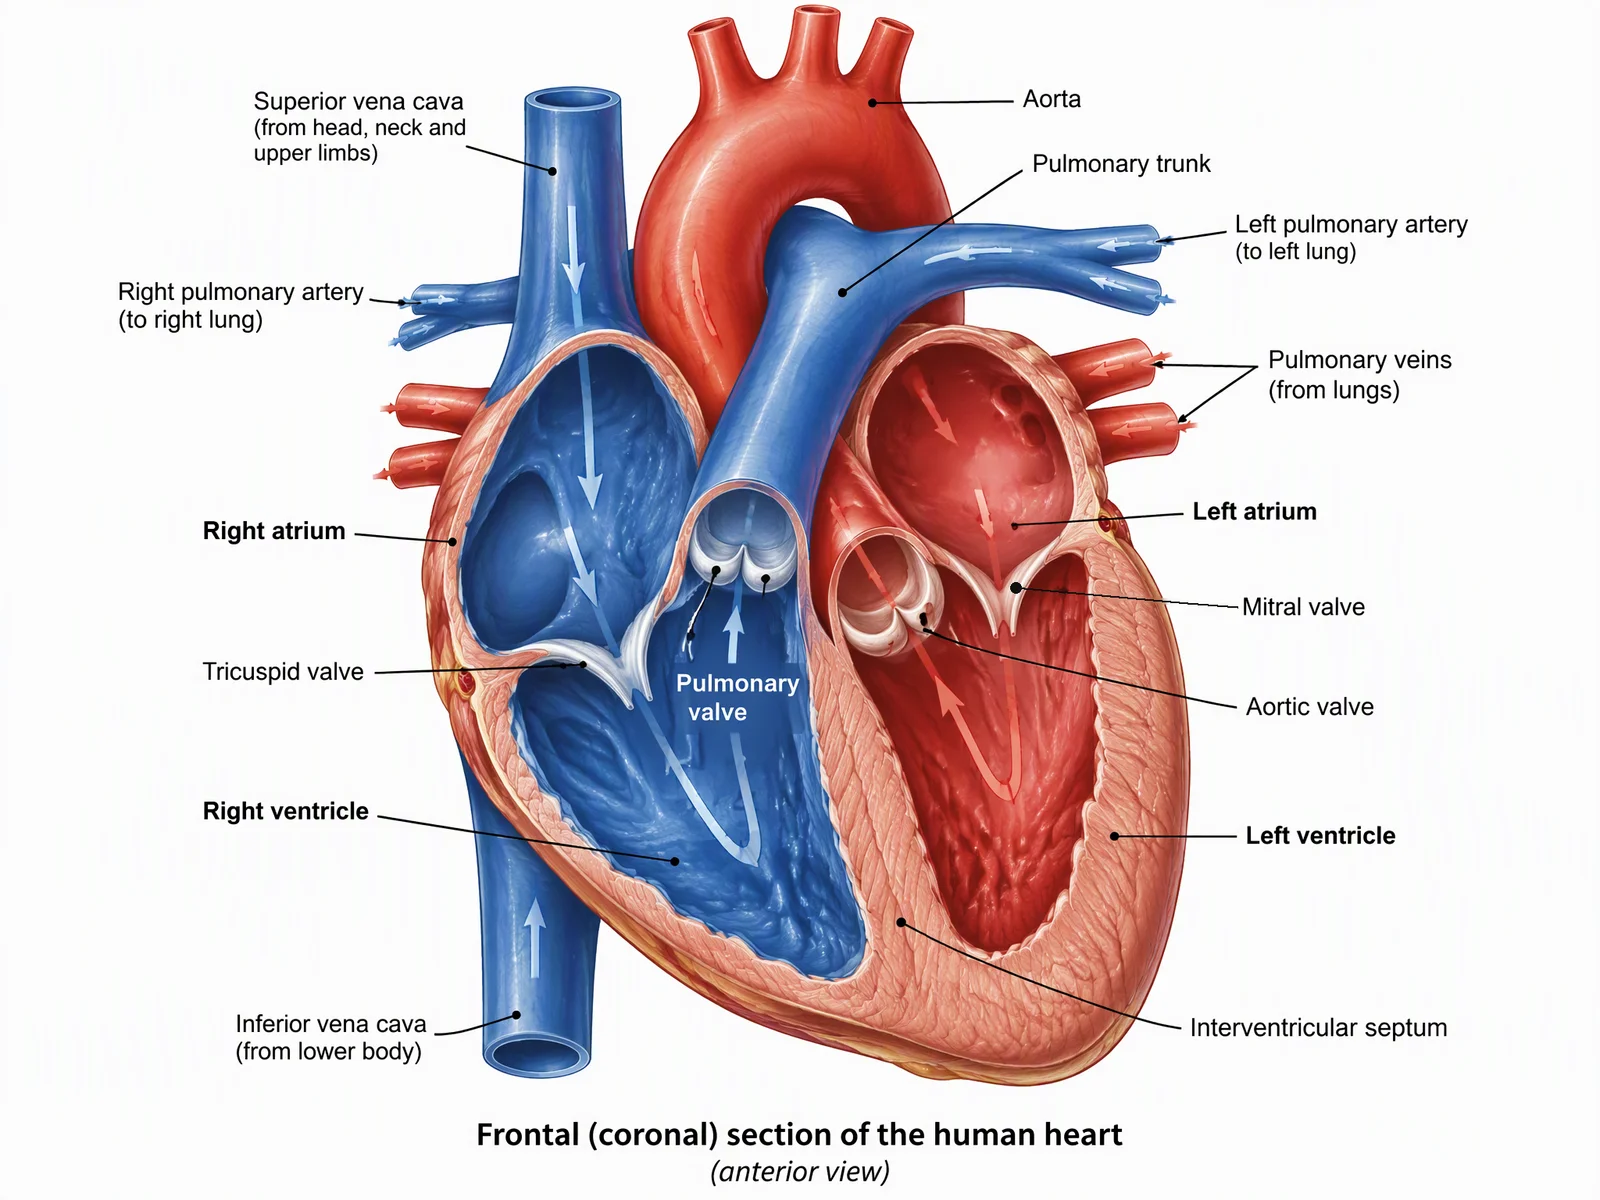
Medical Illustration Generator
Create labeled medical and anatomy illustrations for teaching and patient education.
 Medical
Medical Infographic Maker
Make medical and patient education infographics from facts you cite. Clinician review needed.