Spine Anatomy Diagram Generator Labeled Spine and Vertebra Diagrams
Create labeled spine anatomy diagrams with AI. Show the cervical, thoracic, and lumbar regions, the sacrum and coccyx, the natural curves, a single vertebra, discs, and nerve roots for patient education, physiotherapy, chiropractic teaching, and anatomy study. Download as PNG.
AI Spine Anatomy Diagram Generator
Preview is free on this page ·
Your spine anatomy diagram will appear here
Describe the view and structures to label
Spine Anatomy Examples
AI-generated examples of the spinal regions, a single vertebra, the cervical vertebrae, a disc and nerve root, and the back view of the spine, with the label flaws we found noted on each
Spinal Regions and Curves
AI-generated example. Counts check out: 7 cervical, 12 thoracic, and 5 lumbar vertebrae, then the sacrum and coccyx, and the cervical and lumbar curves bend inward as they should. Known flaws: the curve arcs on the left are all drawn with the same bow direction, so the thoracic and sacral arcs do not follow their outward curve, and the sacrum is stylized.
Lumbar Vertebra, Top View
AI-generated example. The body sits at the front and the spinous process points backward, as it should. The articular process is labeled on one side only, and the bone surface is smoother than real bone.
Disc and Nerve Root
AI-generated example. The bulge sits toward the back and side where it can reach the nerve root, which matches how a disc herniation is usually explained. Known flaws: the bone shapes behind the vertebral bodies in the side view are stylized, and the "Spinal cord" label in the cross-section is wrong for the L4-L5 level shown on the left: the spinal cord ends around L1-L2, and below that the canal holds the cauda equina (a bundle of nerve roots).
Atlas, Axis, and a Typical Cervical Vertebra
AI-generated example. The atlas is a ring with no body, the axis has a dens drawn as a forward-pointing finger in the image plane (in a true top view the dens actually points up toward the skull, toward the viewer), and the C4 vertebra shows the two transverse foramina and a split spinous process. The atlas facet for the dens is not drawn and the transverse foramina of the atlas are left unlabeled.
Back View of the Spine and Pelvis
AI-generated example. Counts check out (7, 12, 5) and the spine is straight in the back view, as a healthy spine appears. Known flaws: the thoracic label lines end among the ribs rather than exactly on each vertebra, the cervical vertebrae look small next to the thoracic ones, and the ribs are stylized.
What does a spine anatomy diagram show?
A spine anatomy diagram shows how the vertebral column is built and what runs through it. A typical labeled diagram includes the cervical, thoracic, and lumbar regions, the sacrum and coccyx, the intervertebral discs between the vertebrae, and the natural curves of the spine. Closer views show a single vertebra, with its body, pedicles, laminae, spinous and transverse processes, articular processes, and the vertebral foramen that forms the spinal canal. This generator creates clear, labeled spine diagrams for patient explanations, physiotherapy and chiropractic teaching, and anatomy study.
The regions and curves of the spine
- Cervical spine: seven vertebrae (C1 to C7) in the neck. The atlas (C1) holds up the skull, and the dens of the axis (C2) is the pivot it rotates around. The neck curves inward, which is called cervical lordosis.
- Thoracic spine: twelve vertebrae (T1 to T12) that each connect to a pair of ribs. The upper back curves outward, which is called thoracic kyphosis.
- Lumbar spine: five vertebrae (L1 to L5) in the lower back, the largest and the ones that carry the most load. The lower back curves inward again, which is called lumbar lordosis.
- Sacrum and coccyx: the sacrum is five vertebrae fused into one bone that joins the pelvis, and the coccyx (tailbone) is a small group of fused segments below it. The sacrum curves outward, which is called sacral kyphosis.
Parts of a vertebra
A typical vertebra has a vertebral body at the front that carries weight and a bony ring behind it. The ring is made of two pedicles, two laminae, and the spinous process that you feel down the middle of your back. Transverse processes stick out to each side as attachment points for muscles, and the superior and inferior articular processes form the facet joints with the vertebrae above and below. The opening in the middle of the ring is the vertebral foramen, and together the foramina of all vertebrae form the spinal canal that protects the spinal cord. Cervical, thoracic, and lumbar vertebrae differ in size and shape, so name the region when you ask for a single vertebra.
Discs and nerve roots
Between most vertebrae sits an intervertebral disc. It has a tough outer ring (the annulus fibrosus) and a soft gel-like center (the nucleus pulposus), and it works as a cushion and spacer. Nerve roots leave the spinal canal through gaps between the vertebrae. A herniated disc is when disc material pushes through a weak spot in the outer ring and can press on a nearby nerve root, which is why this picture is common in back and leg pain explanations. A diagram that shows the disc, the bulge, and the nerve root together is often the clearest way to explain it. Note that the spinal cord itself ends around L1-L2; in the lower back the canal holds the cauda equina, a bundle of nerve roots, so check that a lumbar diagram does not label a spinal cord there.
Using spine diagrams for patient education and teaching
- Patient handouts: a labeled side view with the curves, or a disc and nerve root diagram, helps explain where symptoms come from before you describe the plan.
- Physiotherapy and chiropractic teaching: label the region you want students to learn, then add a top view of one vertebra and a back view for the same lesson.
- Anatomy and sports-science courses: compare the cervical, thoracic, and lumbar vertebrae, or the side and back views, in separate diagrams.
- Review every generated label before you share it. These are teaching illustrations, not medical imaging, and they do not replace clinical advice.
Tips for a clear spine diagram
Name the view (side, back, or top), the region (cervical, thoracic, lumbar, or the whole spine), and the exact structures to label. Ask for one idea at a time, such as the curves only, one vertebra only, or one disc and nerve root, since a single image with every layer gets crowded. Counting is where AI diagrams slip, so check that the labels read C1 to C7, T1 to T12, and L1 to L5 and that each label line points at the right bone. Generate a few options, and download the clearest one for your handout, slide, or worksheet.
Frequently Asked Questions
Related Anatomy Tools
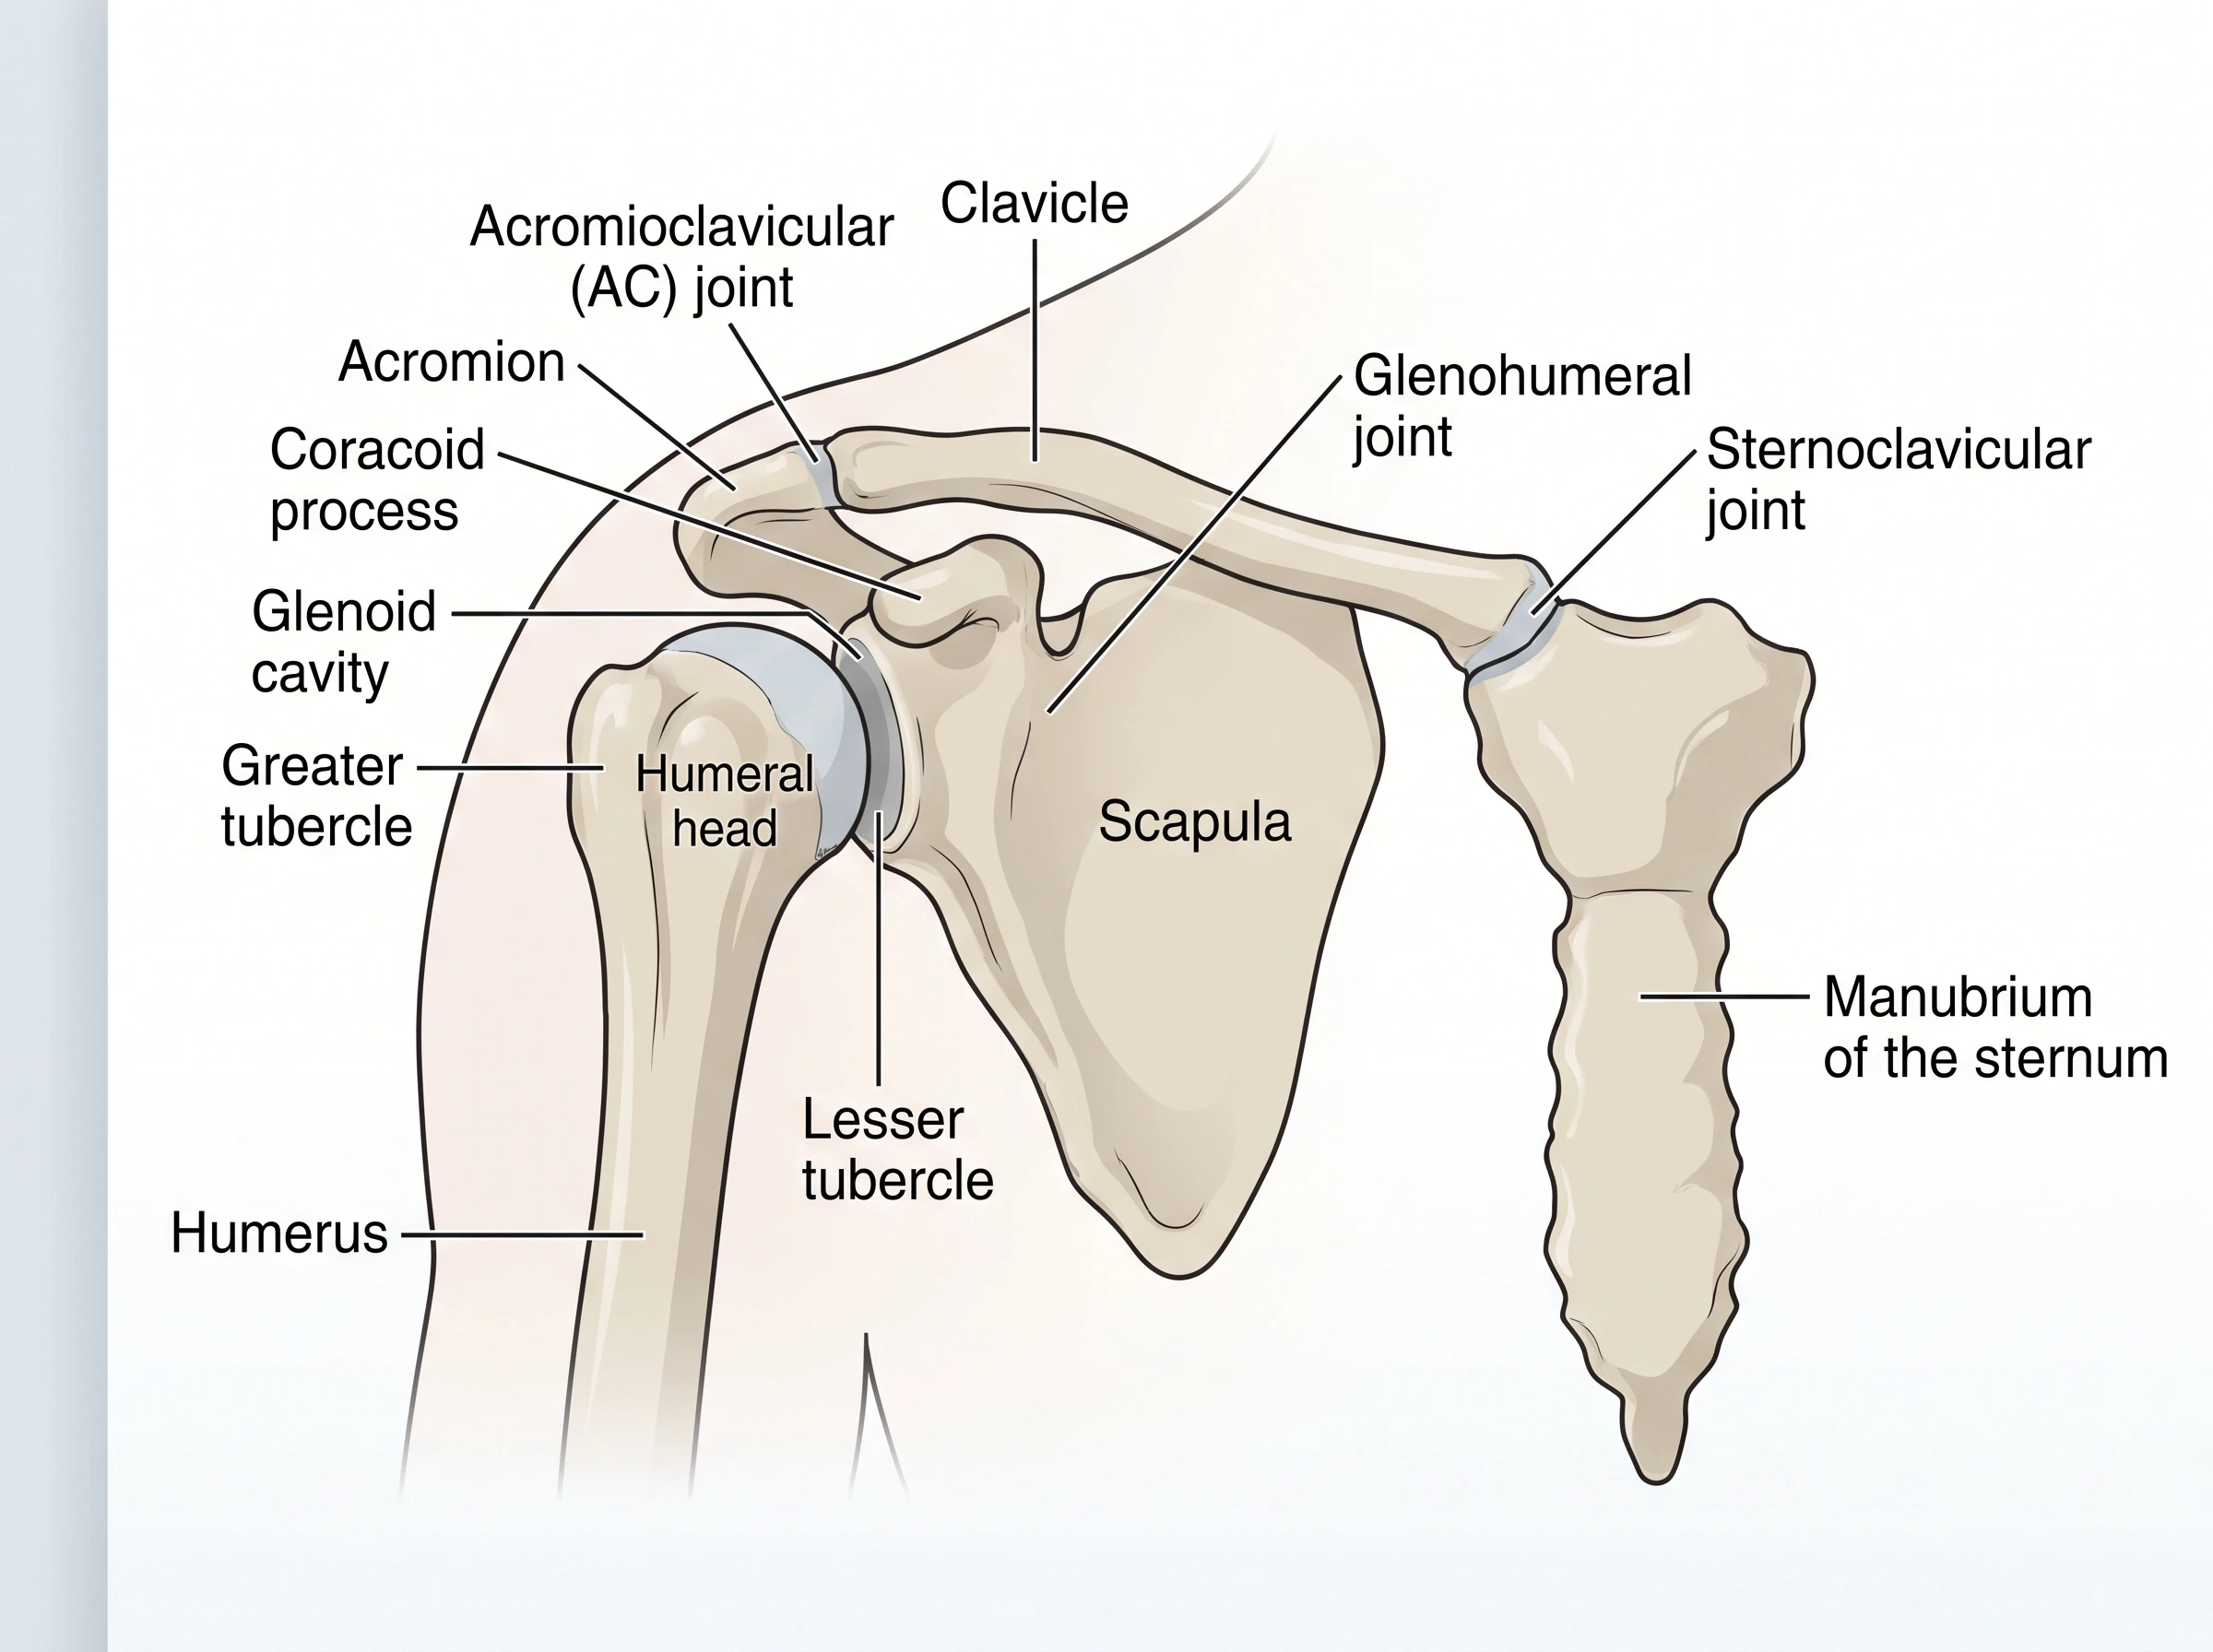 Medical
Shoulder Anatomy Diagram Generator
Create labeled shoulder diagrams: bones, rotator cuff, labrum, and bursa.
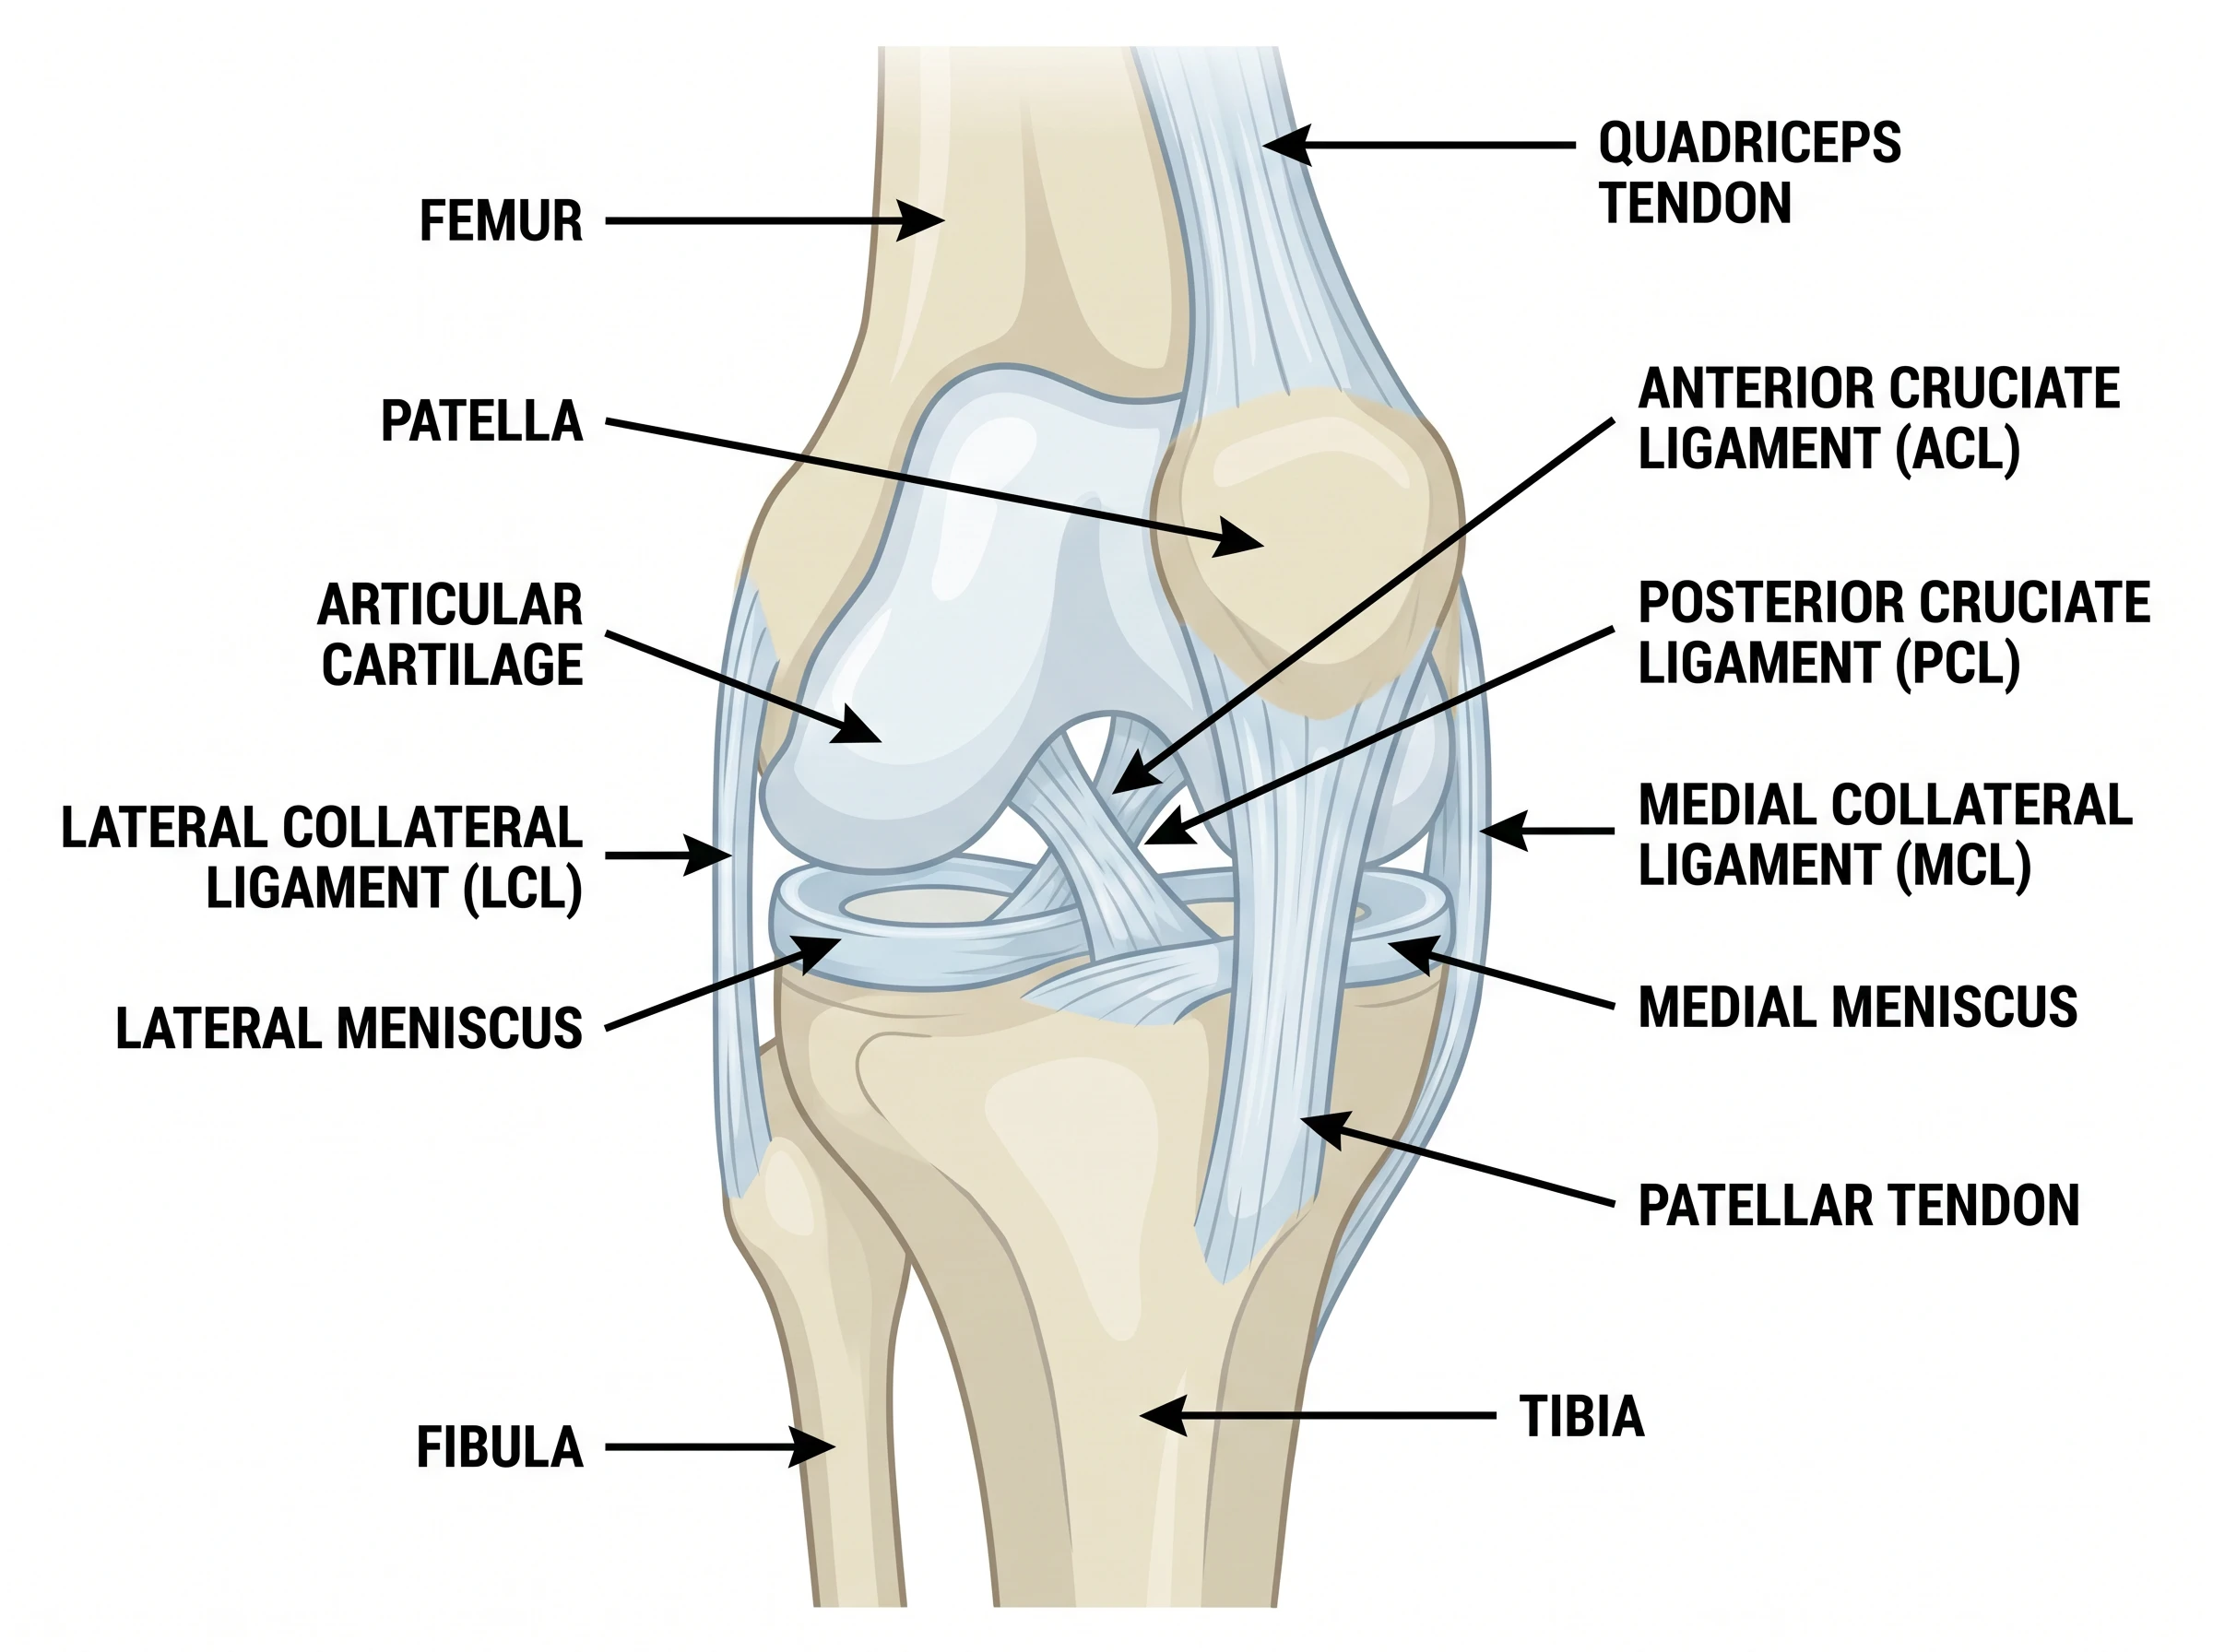 Medical
Knee Anatomy Diagram Generator
Create labeled knee diagrams: bones, ACL, PCL, MCL, LCL, and menisci.
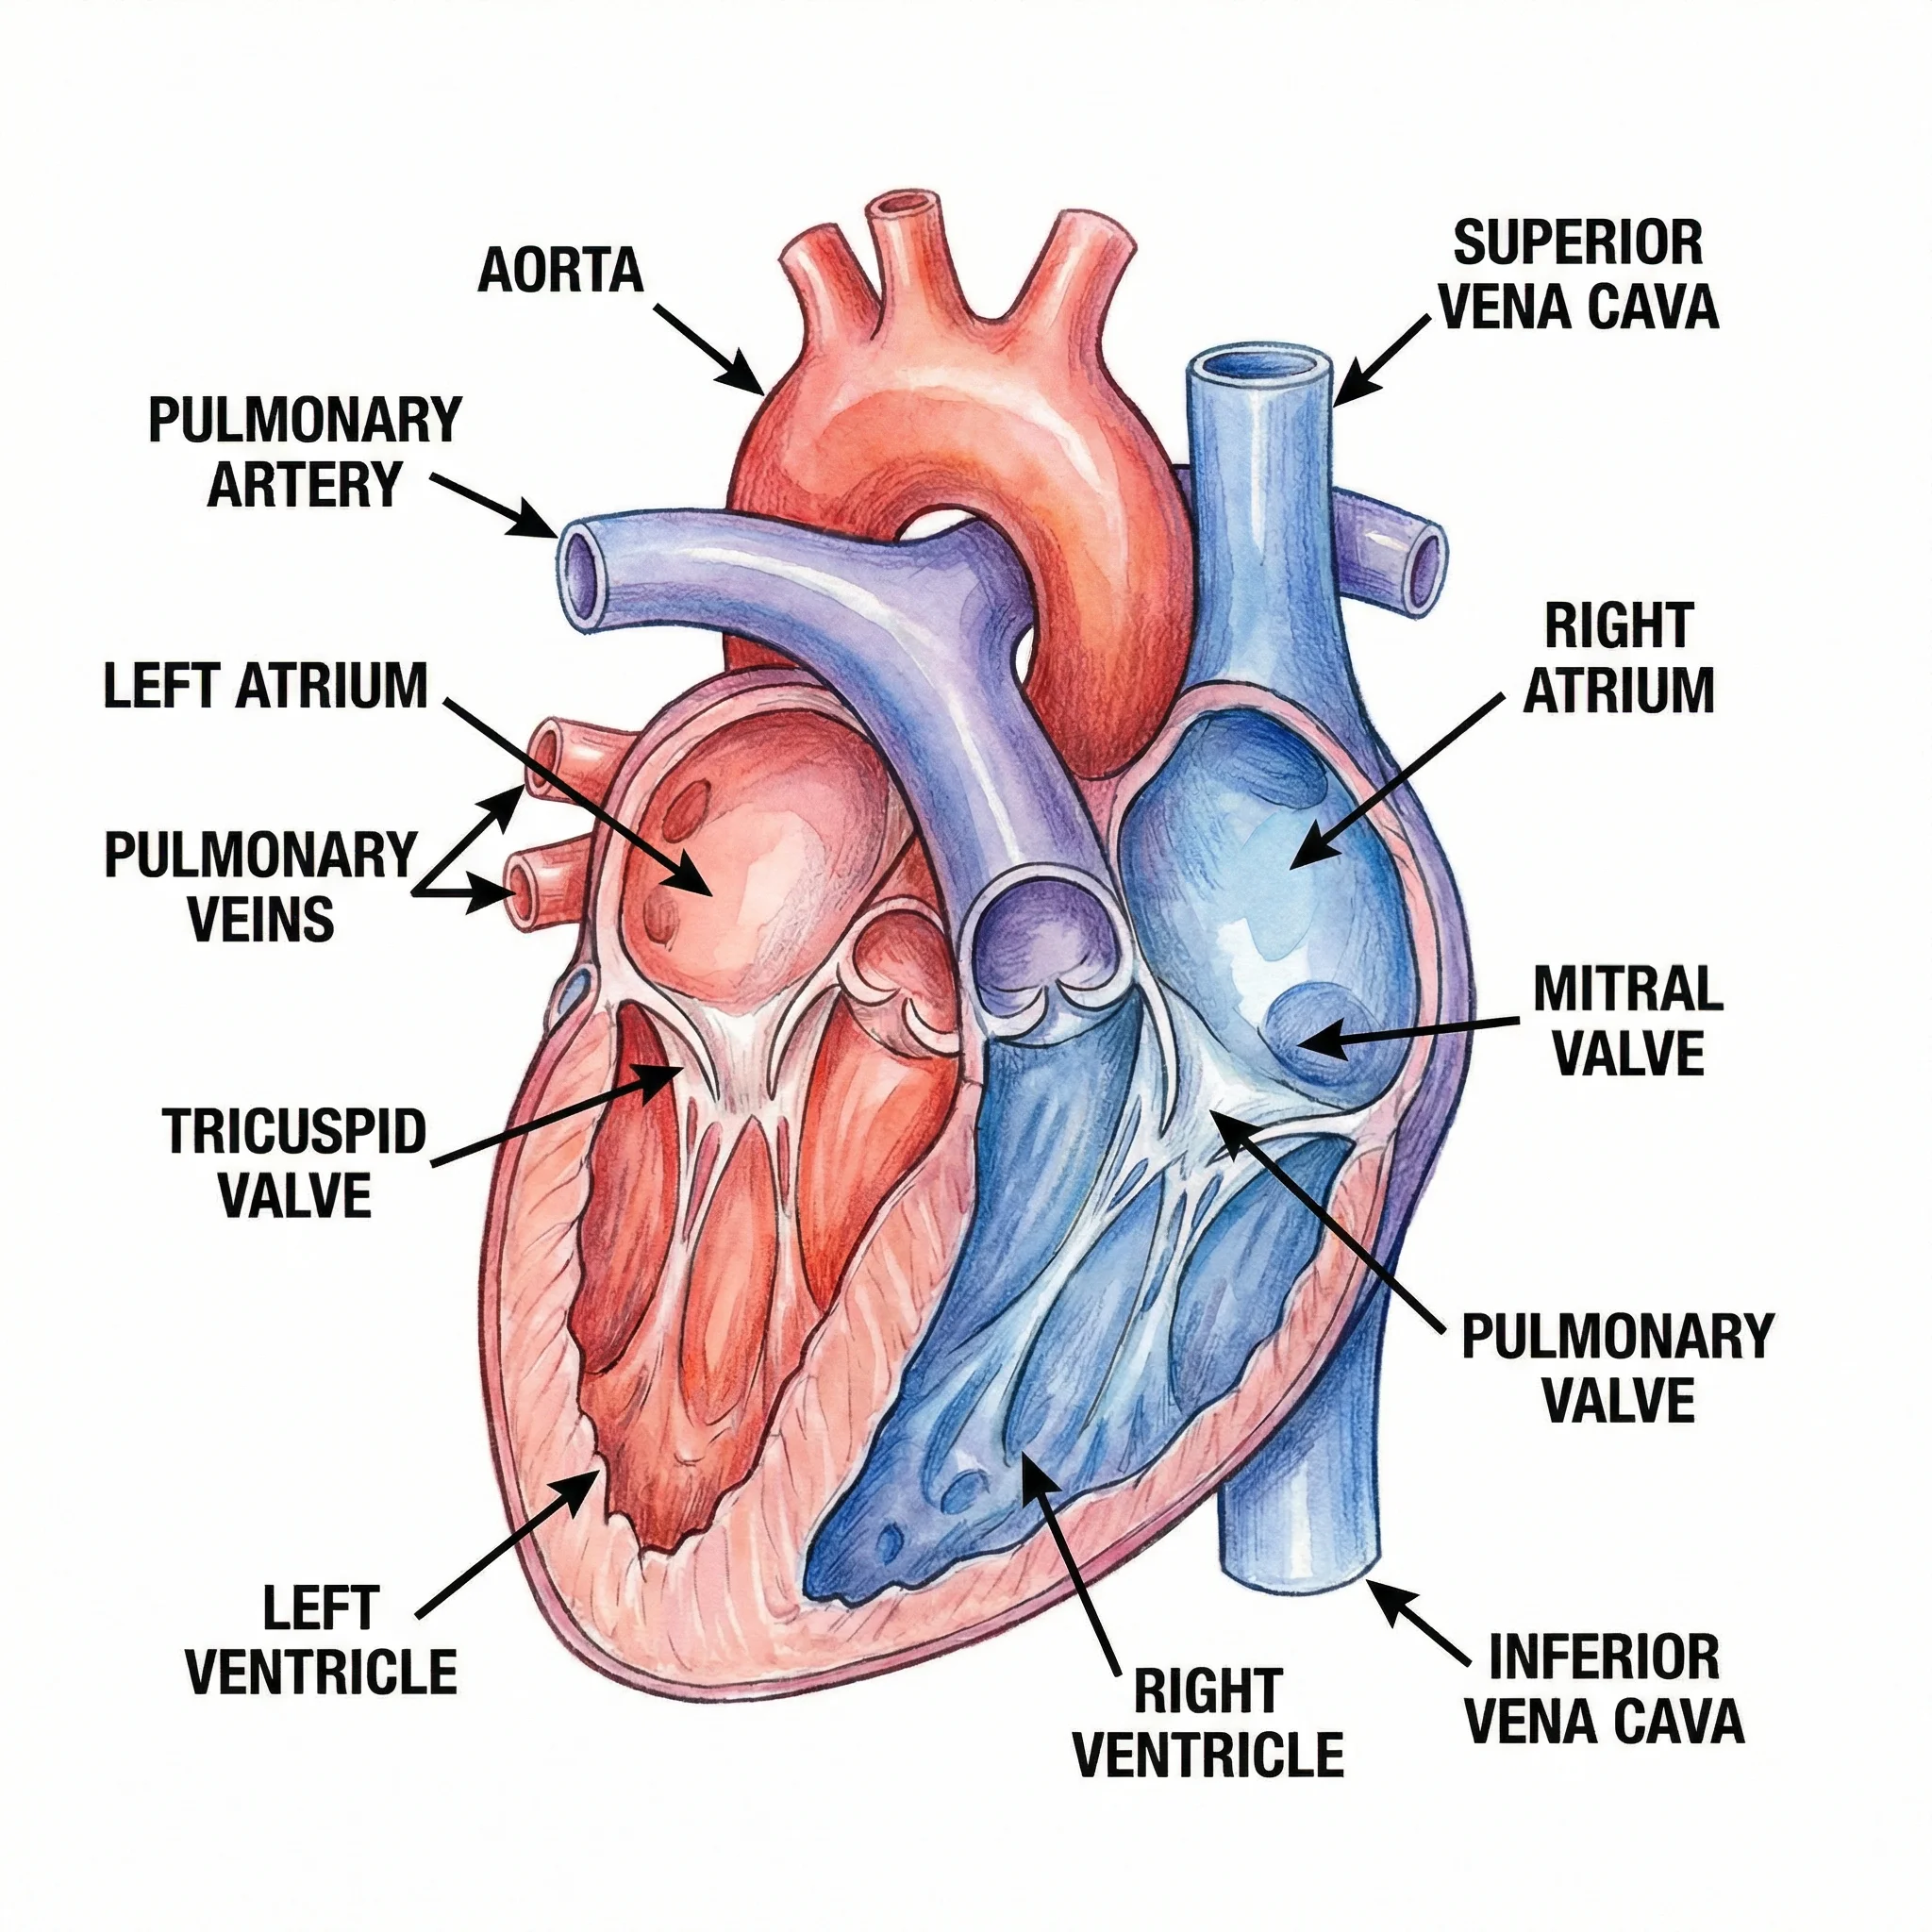 Medical
Medical Illustration Generator
Generate labeled medical illustrations of organs, systems, and procedures.
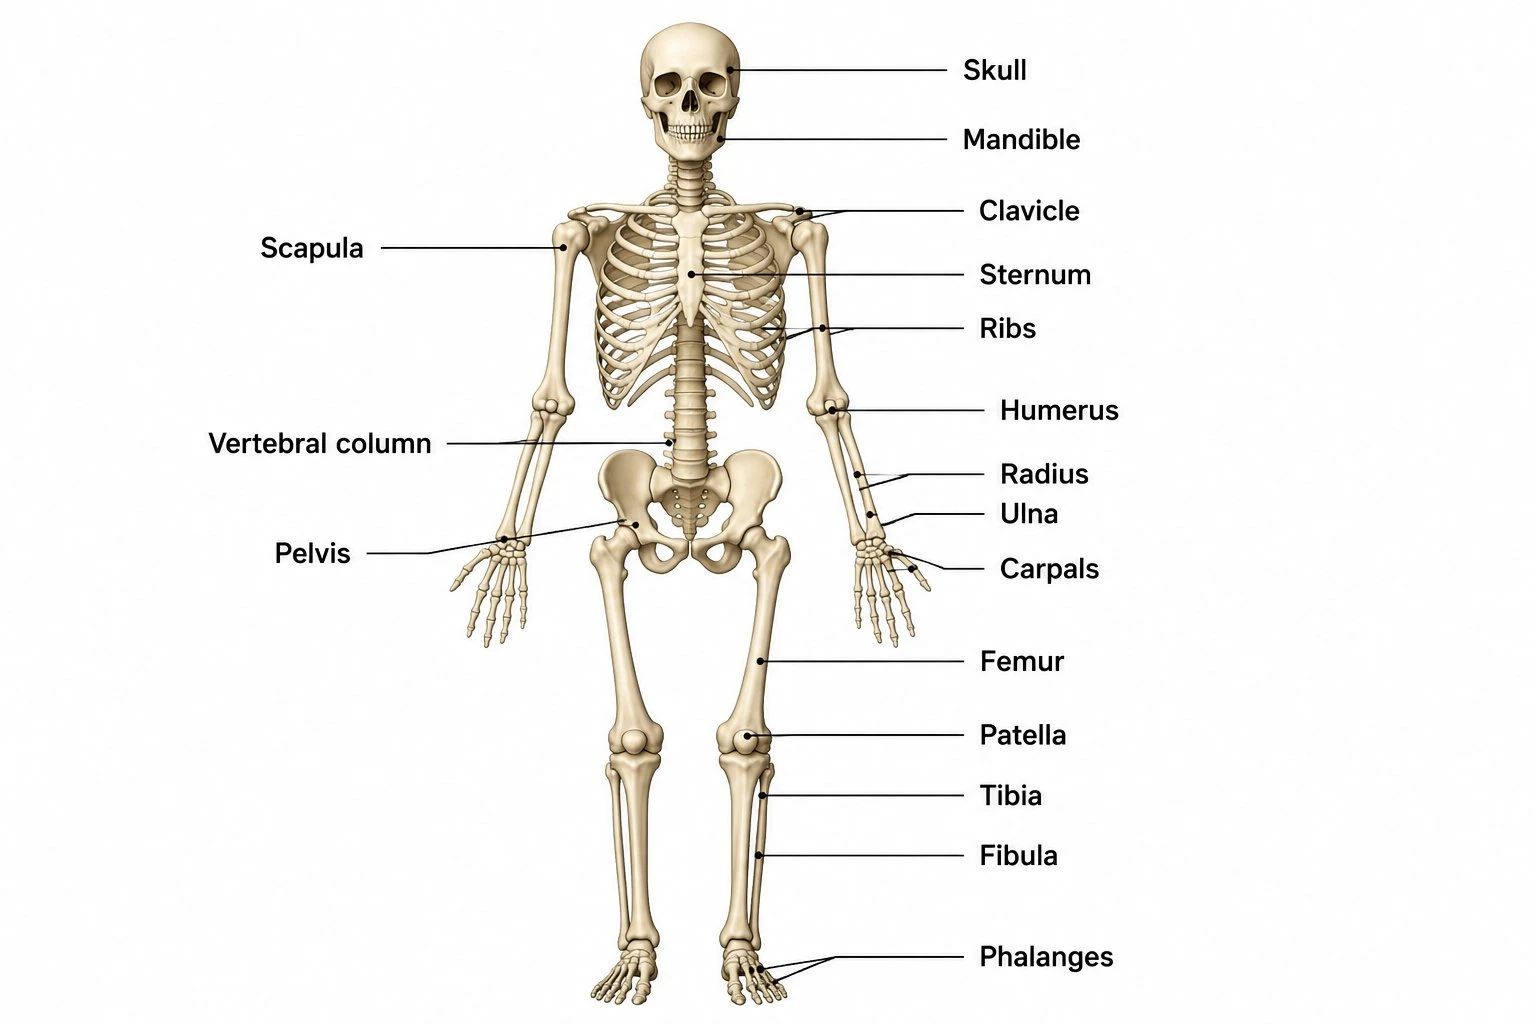 Biology
Skeletal System Diagram Generator
Create labeled skeletal system diagrams of the bones and joints of the body.