Shoulder Anatomy Diagram Generator Labeled Shoulder Joint Diagrams
Create labeled shoulder anatomy diagrams with AI. Show the clavicle, scapula, humerus, rotator cuff muscles, labrum, joint capsule, and subacromial bursa for patient education, physiotherapy, and orthopedic teaching. Download as PNG.
AI Shoulder Anatomy Diagram Generator
Preview is free on this page ·
Your shoulder anatomy diagram will appear here
Describe the view and structures to label
Shoulder Anatomy Examples
AI-generated examples of the bones, rotator cuff, joint, ligaments, and muscles of the shoulder, with the label flaws we found noted on each
Shoulder Bones and Joints
AI-generated example. Known flaws: the "Glenohumeral joint" pointer lands on the scapular neck rather than the joint gap, the "Manubrium" leader points at the sternal body, the "Lesser tubercle" leader stops in the gap between the humeral head and glenoid, and the sternum is drawn longer and narrower than real.
Rotator Cuff (SITS)
AI-generated example. Subscapularis is shown on the front of the scapula; supraspinatus, infraspinatus, and teres minor on the back. The infraspinatus arrow ends at the scapular edge, next to the muscle.
Joint Cross-Section
AI-generated example. The labrum is stylized as an oval ring around the glenoid, and the bursa is simplified; use it as a patient-talk sketch, not a surgical reference.
Shoulder Ligaments
AI-generated example. Known flaw: the "Acromioclavicular ligament" arrow lands on the middle of the clavicle instead of the AC joint at its outer end.
Muscles Around the Shoulder
AI-generated example. The sternum at the right edge is drawn loosely; the labeled muscles sit where expected.
What does a shoulder anatomy diagram show?
A shoulder anatomy diagram shows how the bones, joints, muscles, tendons, and soft tissues of the shoulder girdle fit together. A typical labeled diagram includes the clavicle (collarbone), scapula (shoulder blade) with its acromion, coracoid process, and glenoid, and the humerus (upper arm bone). It also shows the acromioclavicular (AC) joint, the glenohumeral (ball-and-socket) joint, the four rotator cuff muscles, the labrum, the joint capsule, and the subacromial bursa. This generator creates clear, labeled shoulder diagrams for patient explanations, physiotherapy and orthopedic teaching, and anatomy study.
The structures of the shoulder
- Bones: the clavicle, scapula, and humerus meet at the shoulder. The acromion and coracoid process are bony projections of the scapula; the glenoid is the shallow socket that the rounded humeral head sits in.
- Joints: the glenohumeral joint is the main ball-and-socket joint. The acromioclavicular (AC) joint links the collarbone to the acromion, and the sternoclavicular joint links the collarbone to the sternum.
- Rotator cuff: supraspinatus, infraspinatus, teres minor, and subscapularis (remembered as SITS) hold the humeral head in the socket and rotate and lift the arm.
- Soft tissue: the glenoid labrum is a rim of fibrocartilage that deepens the socket, the joint capsule and glenohumeral ligaments stabilize it, and the subacromial bursa cushions the rotator cuff tendons beneath the acromion.
The rotator cuff: SITS
The rotator cuff is four muscles whose tendons blend around the humeral head. The supraspinatus sits above the spine of the scapula and starts lifting the arm. The infraspinatus and teres minor lie below the spine on the back of the scapula and rotate the arm outward. The subscapularis fills the front surface of the scapula and rotates the arm inward. The supraspinatus tendon passes under the acromion, which is why it is the tendon most often shown in impingement and tear explanations.
Using shoulder diagrams for patient education and teaching
- Patient handouts: a simple labeled diagram of the rotator cuff and bursa helps explain where pain comes from, before you describe the plan.
- Physiotherapy and orthopedic teaching: label the muscle attachments you want students to learn, then generate a front view and a back view for the same lesson.
- Anatomy and sports-science courses: compare the bone, ligament, and muscle layers of the same joint in separate diagrams.
- Review every generated label before you share it. These are teaching illustrations, not medical imaging, and they do not replace clinical advice.
Tips for a clear shoulder diagram
Name the view (front, back, or cross-section), the side (right shoulder is the usual default), and the exact structures to label. Ask for one layer at a time, such as bones only, or rotator cuff only, since a single image with every layer gets crowded. Generate a few options, check each label line points at the right structure, and download the clearest one for your handout, slide, or worksheet.
Frequently Asked Questions
Related Anatomy Tools
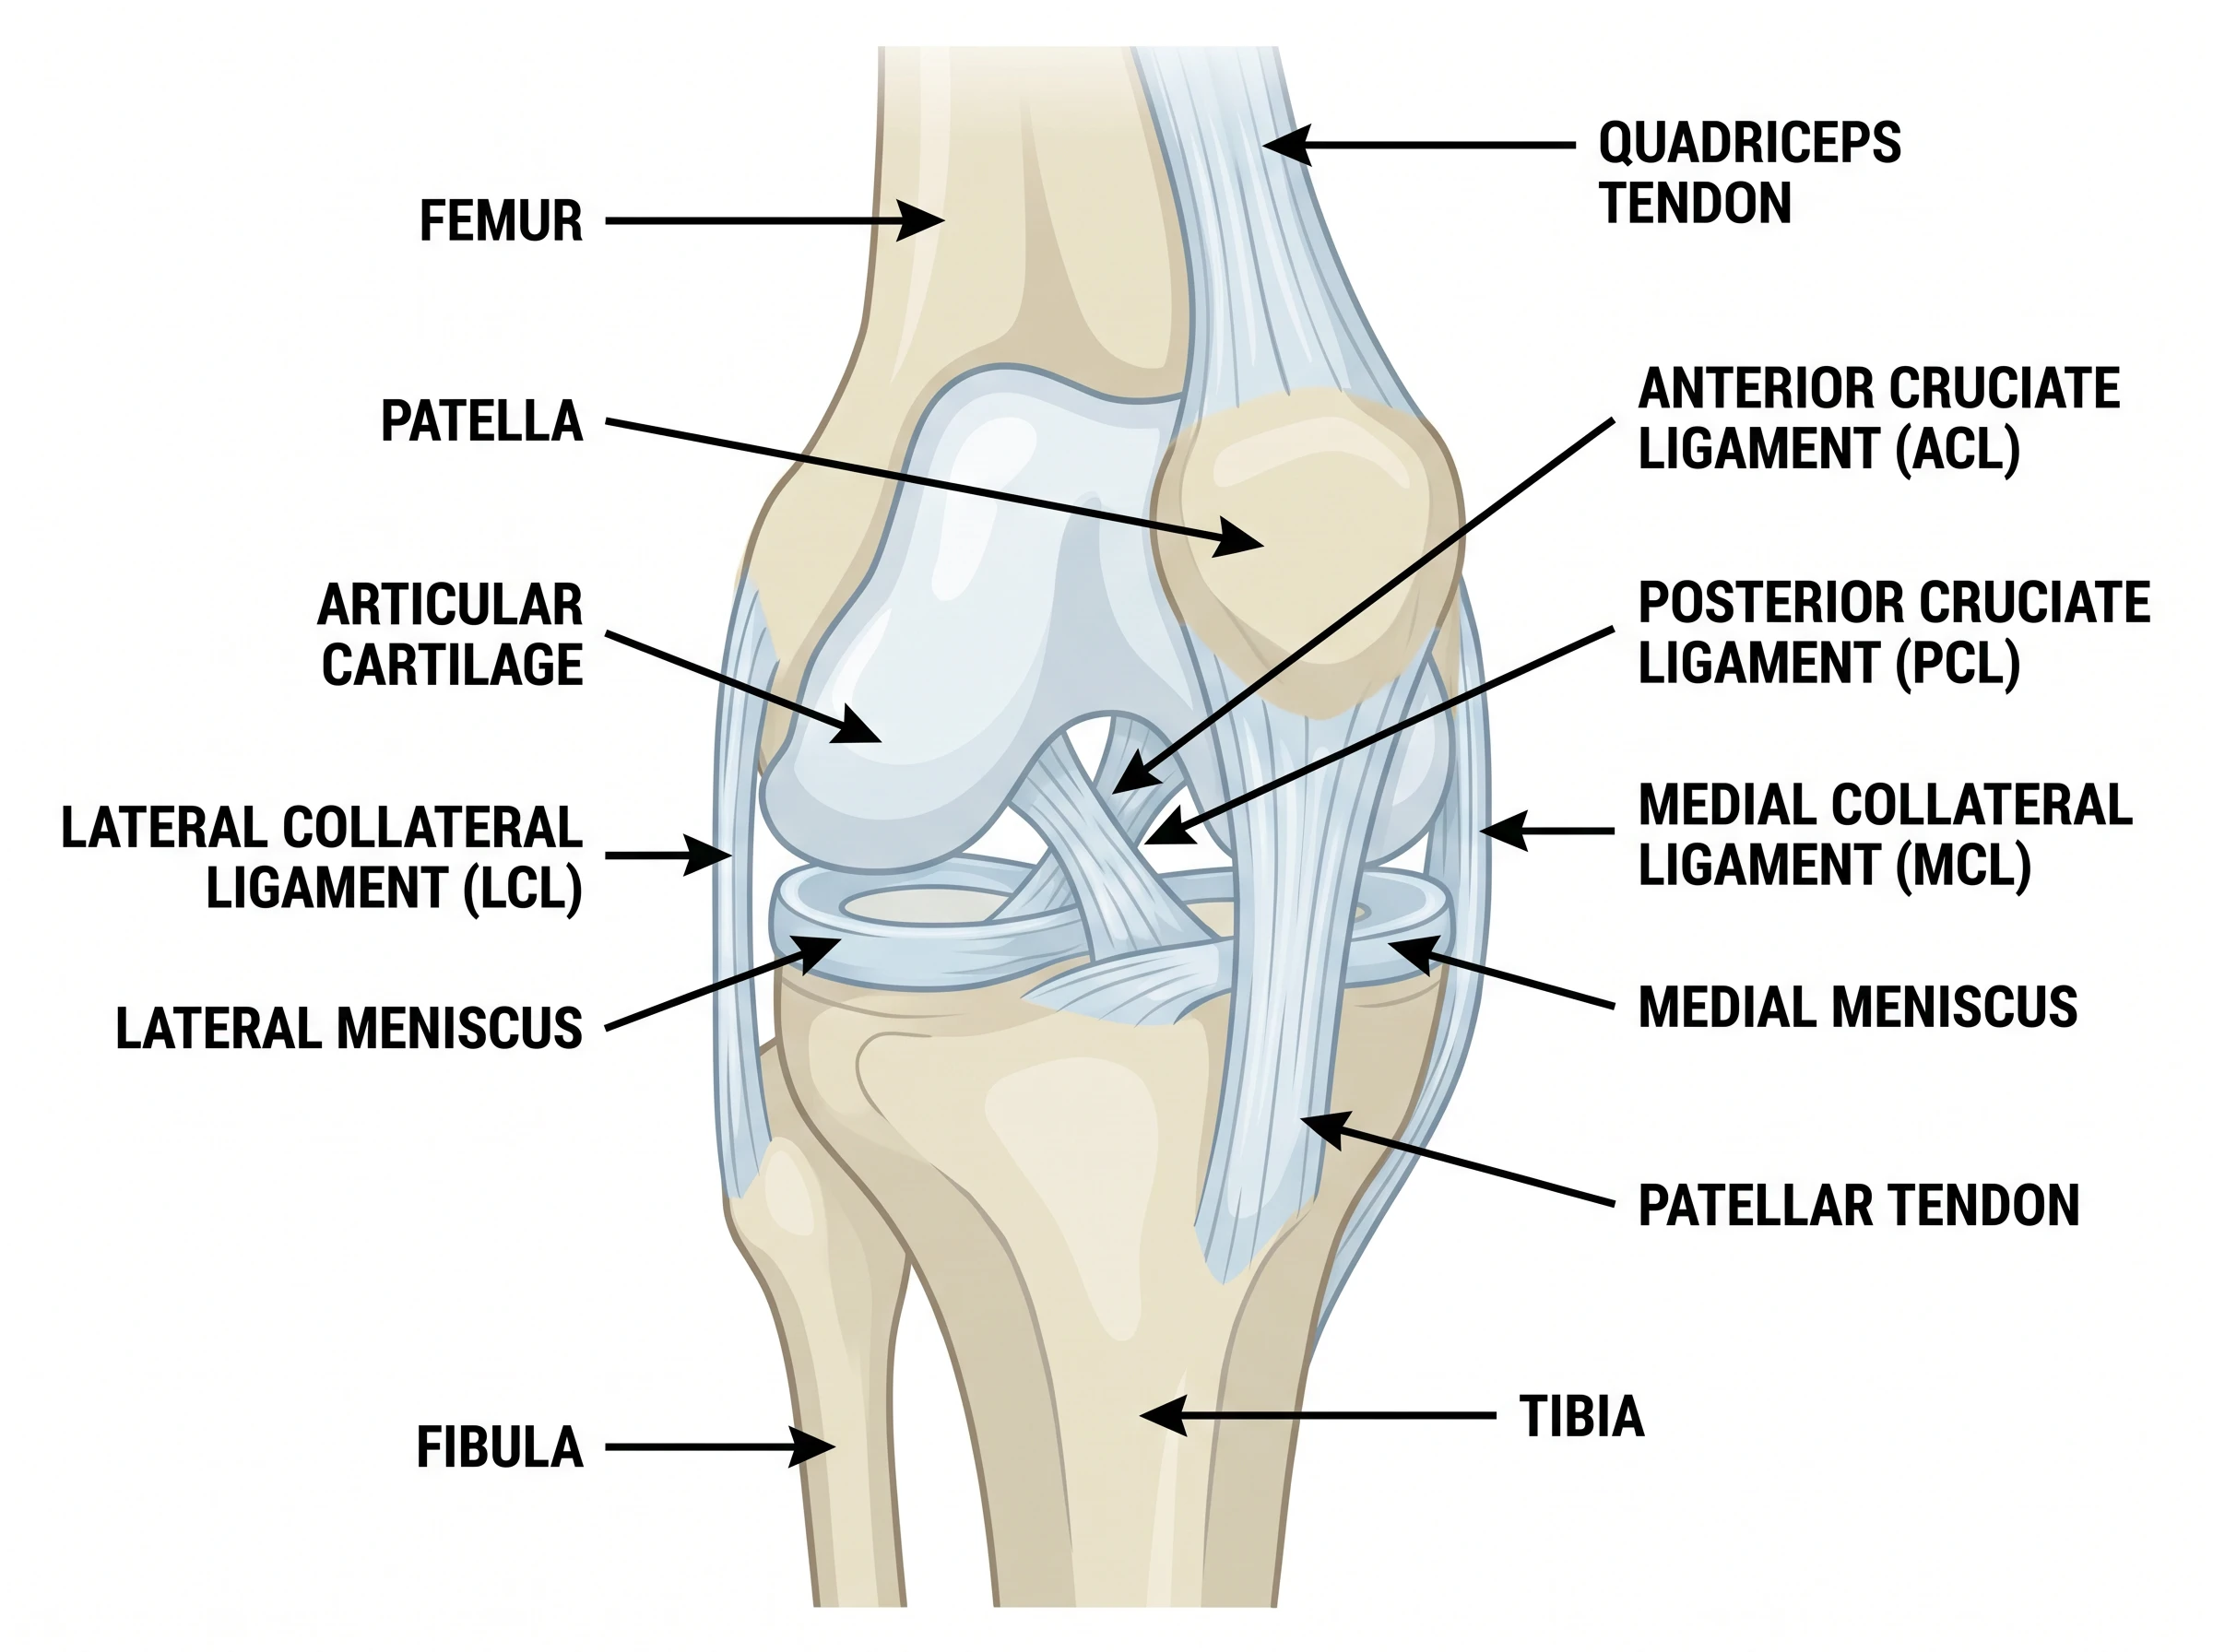 Medical
Knee Anatomy Diagram Generator
Create labeled knee diagrams: bones, ACL, PCL, MCL, LCL, and menisci.
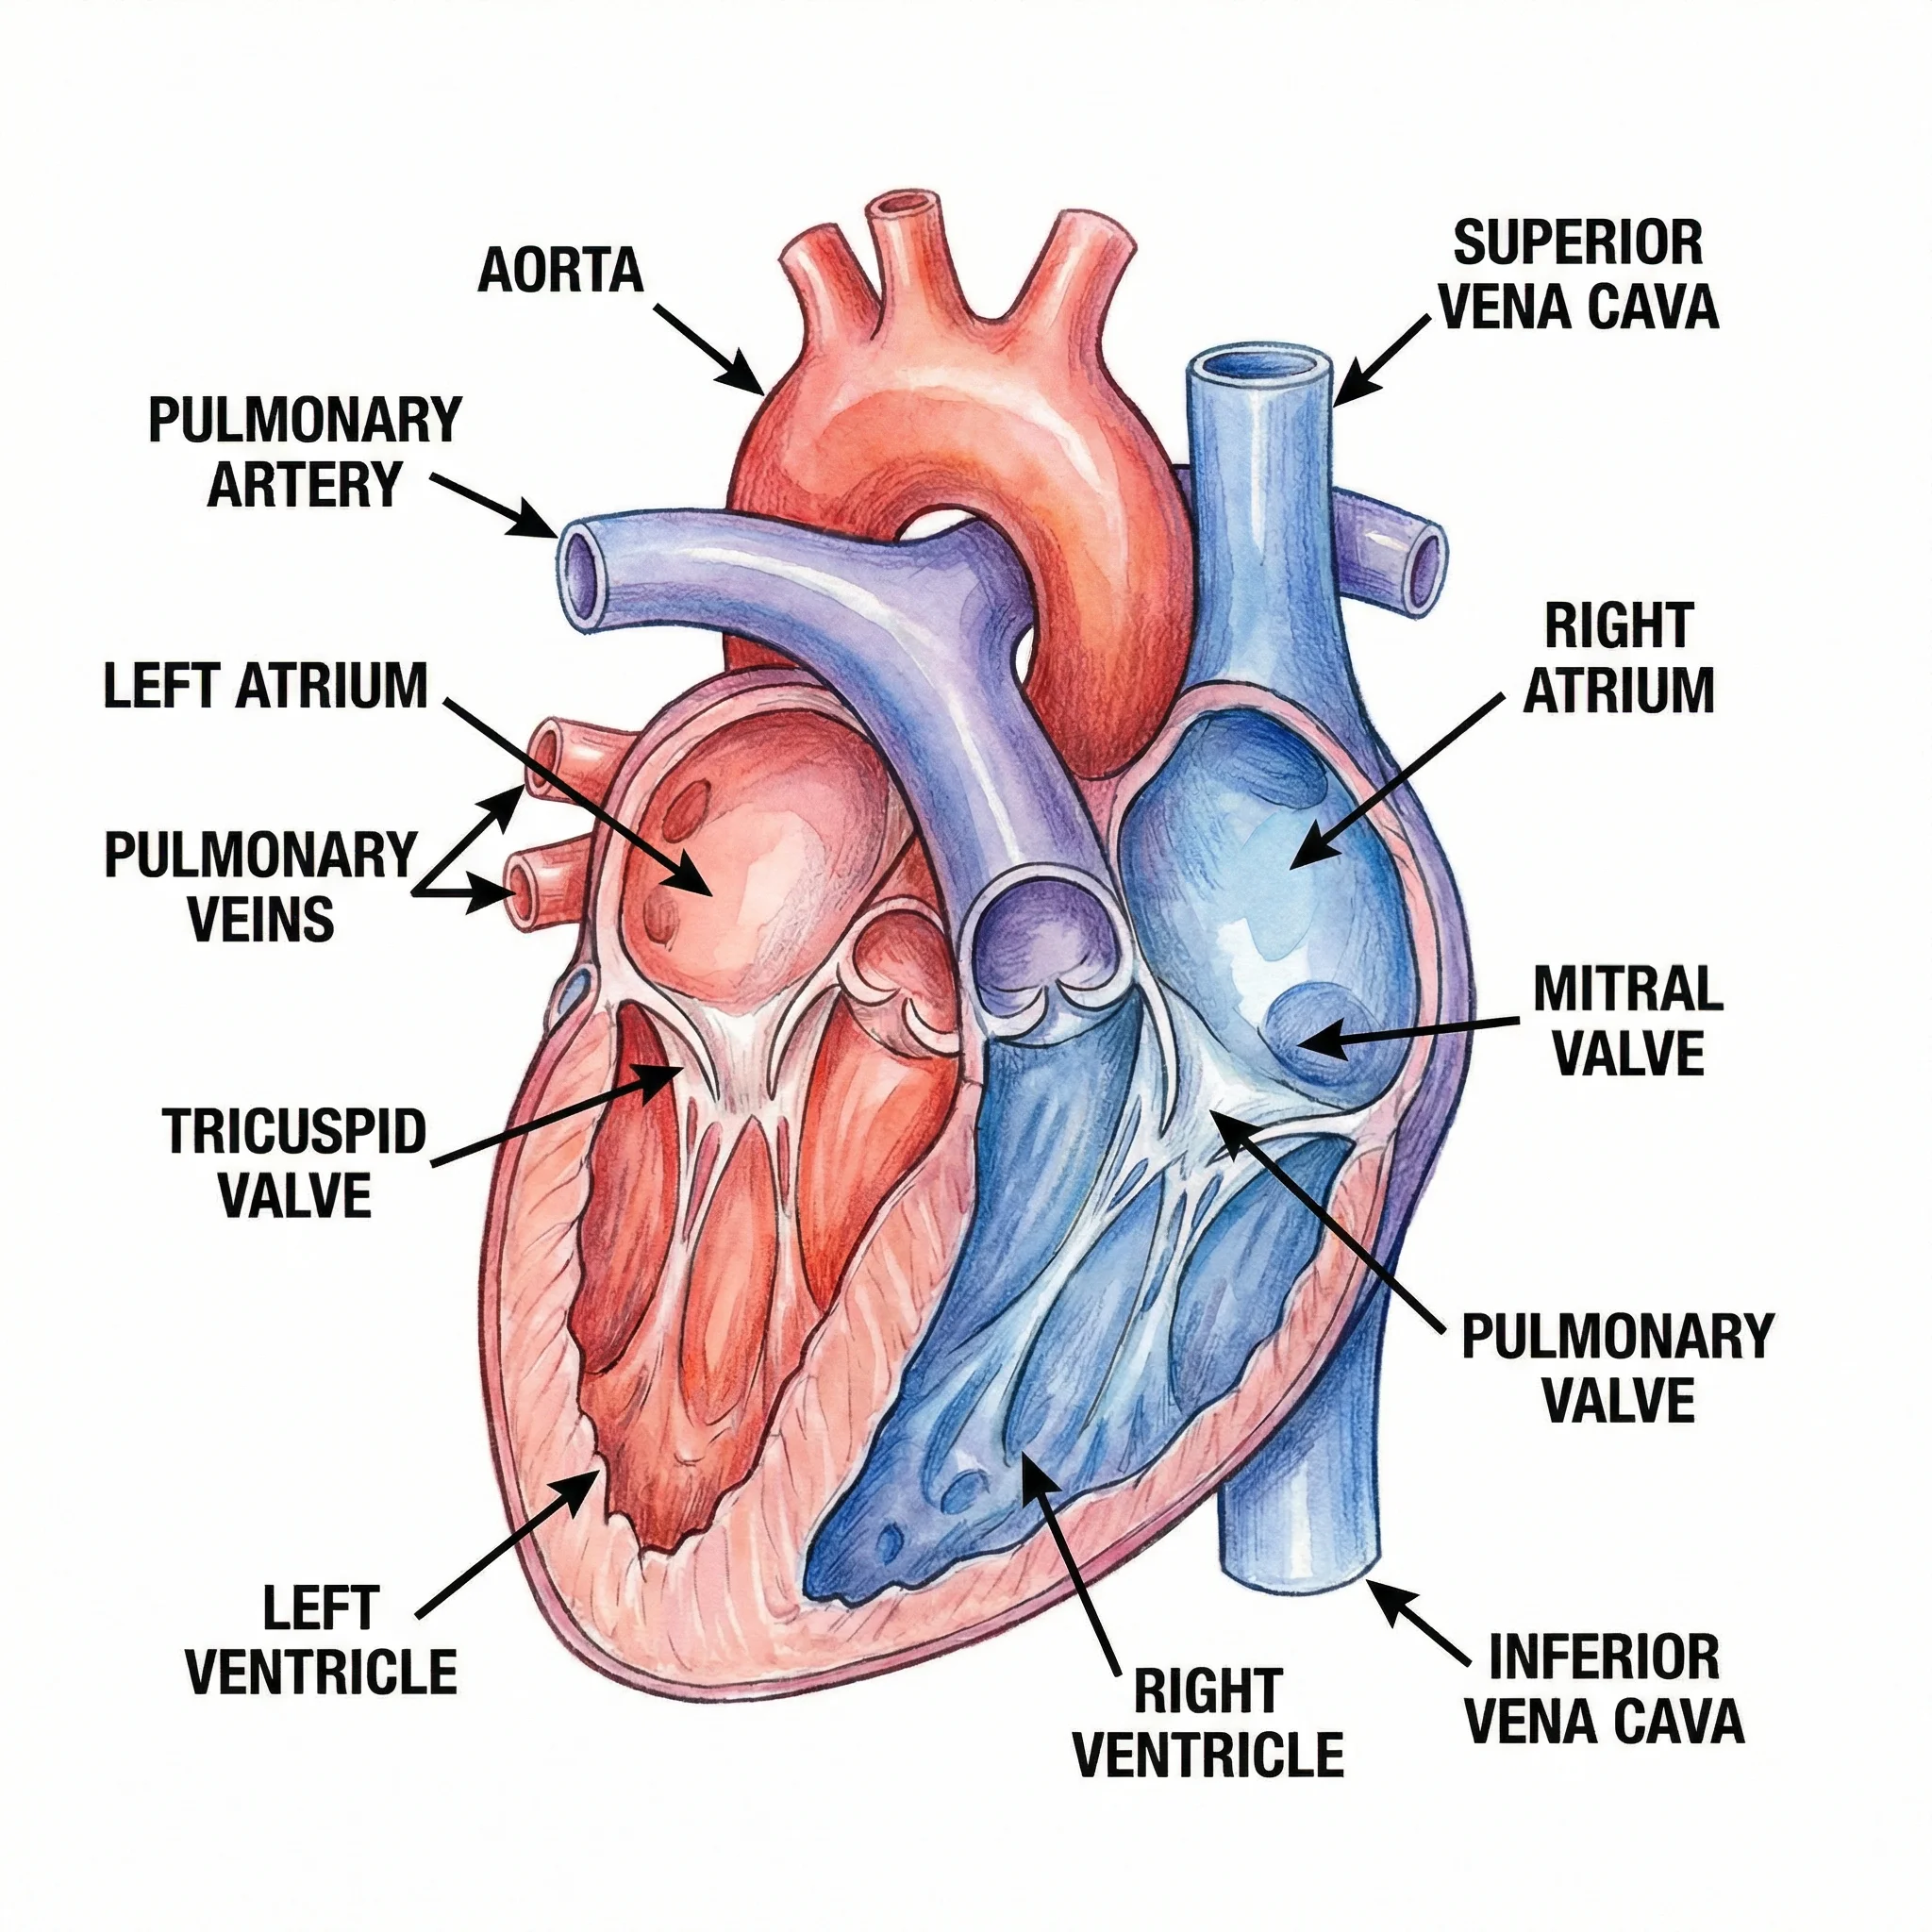 Medical
Medical Illustration Generator
Generate labeled medical illustrations of organs, systems, and procedures.
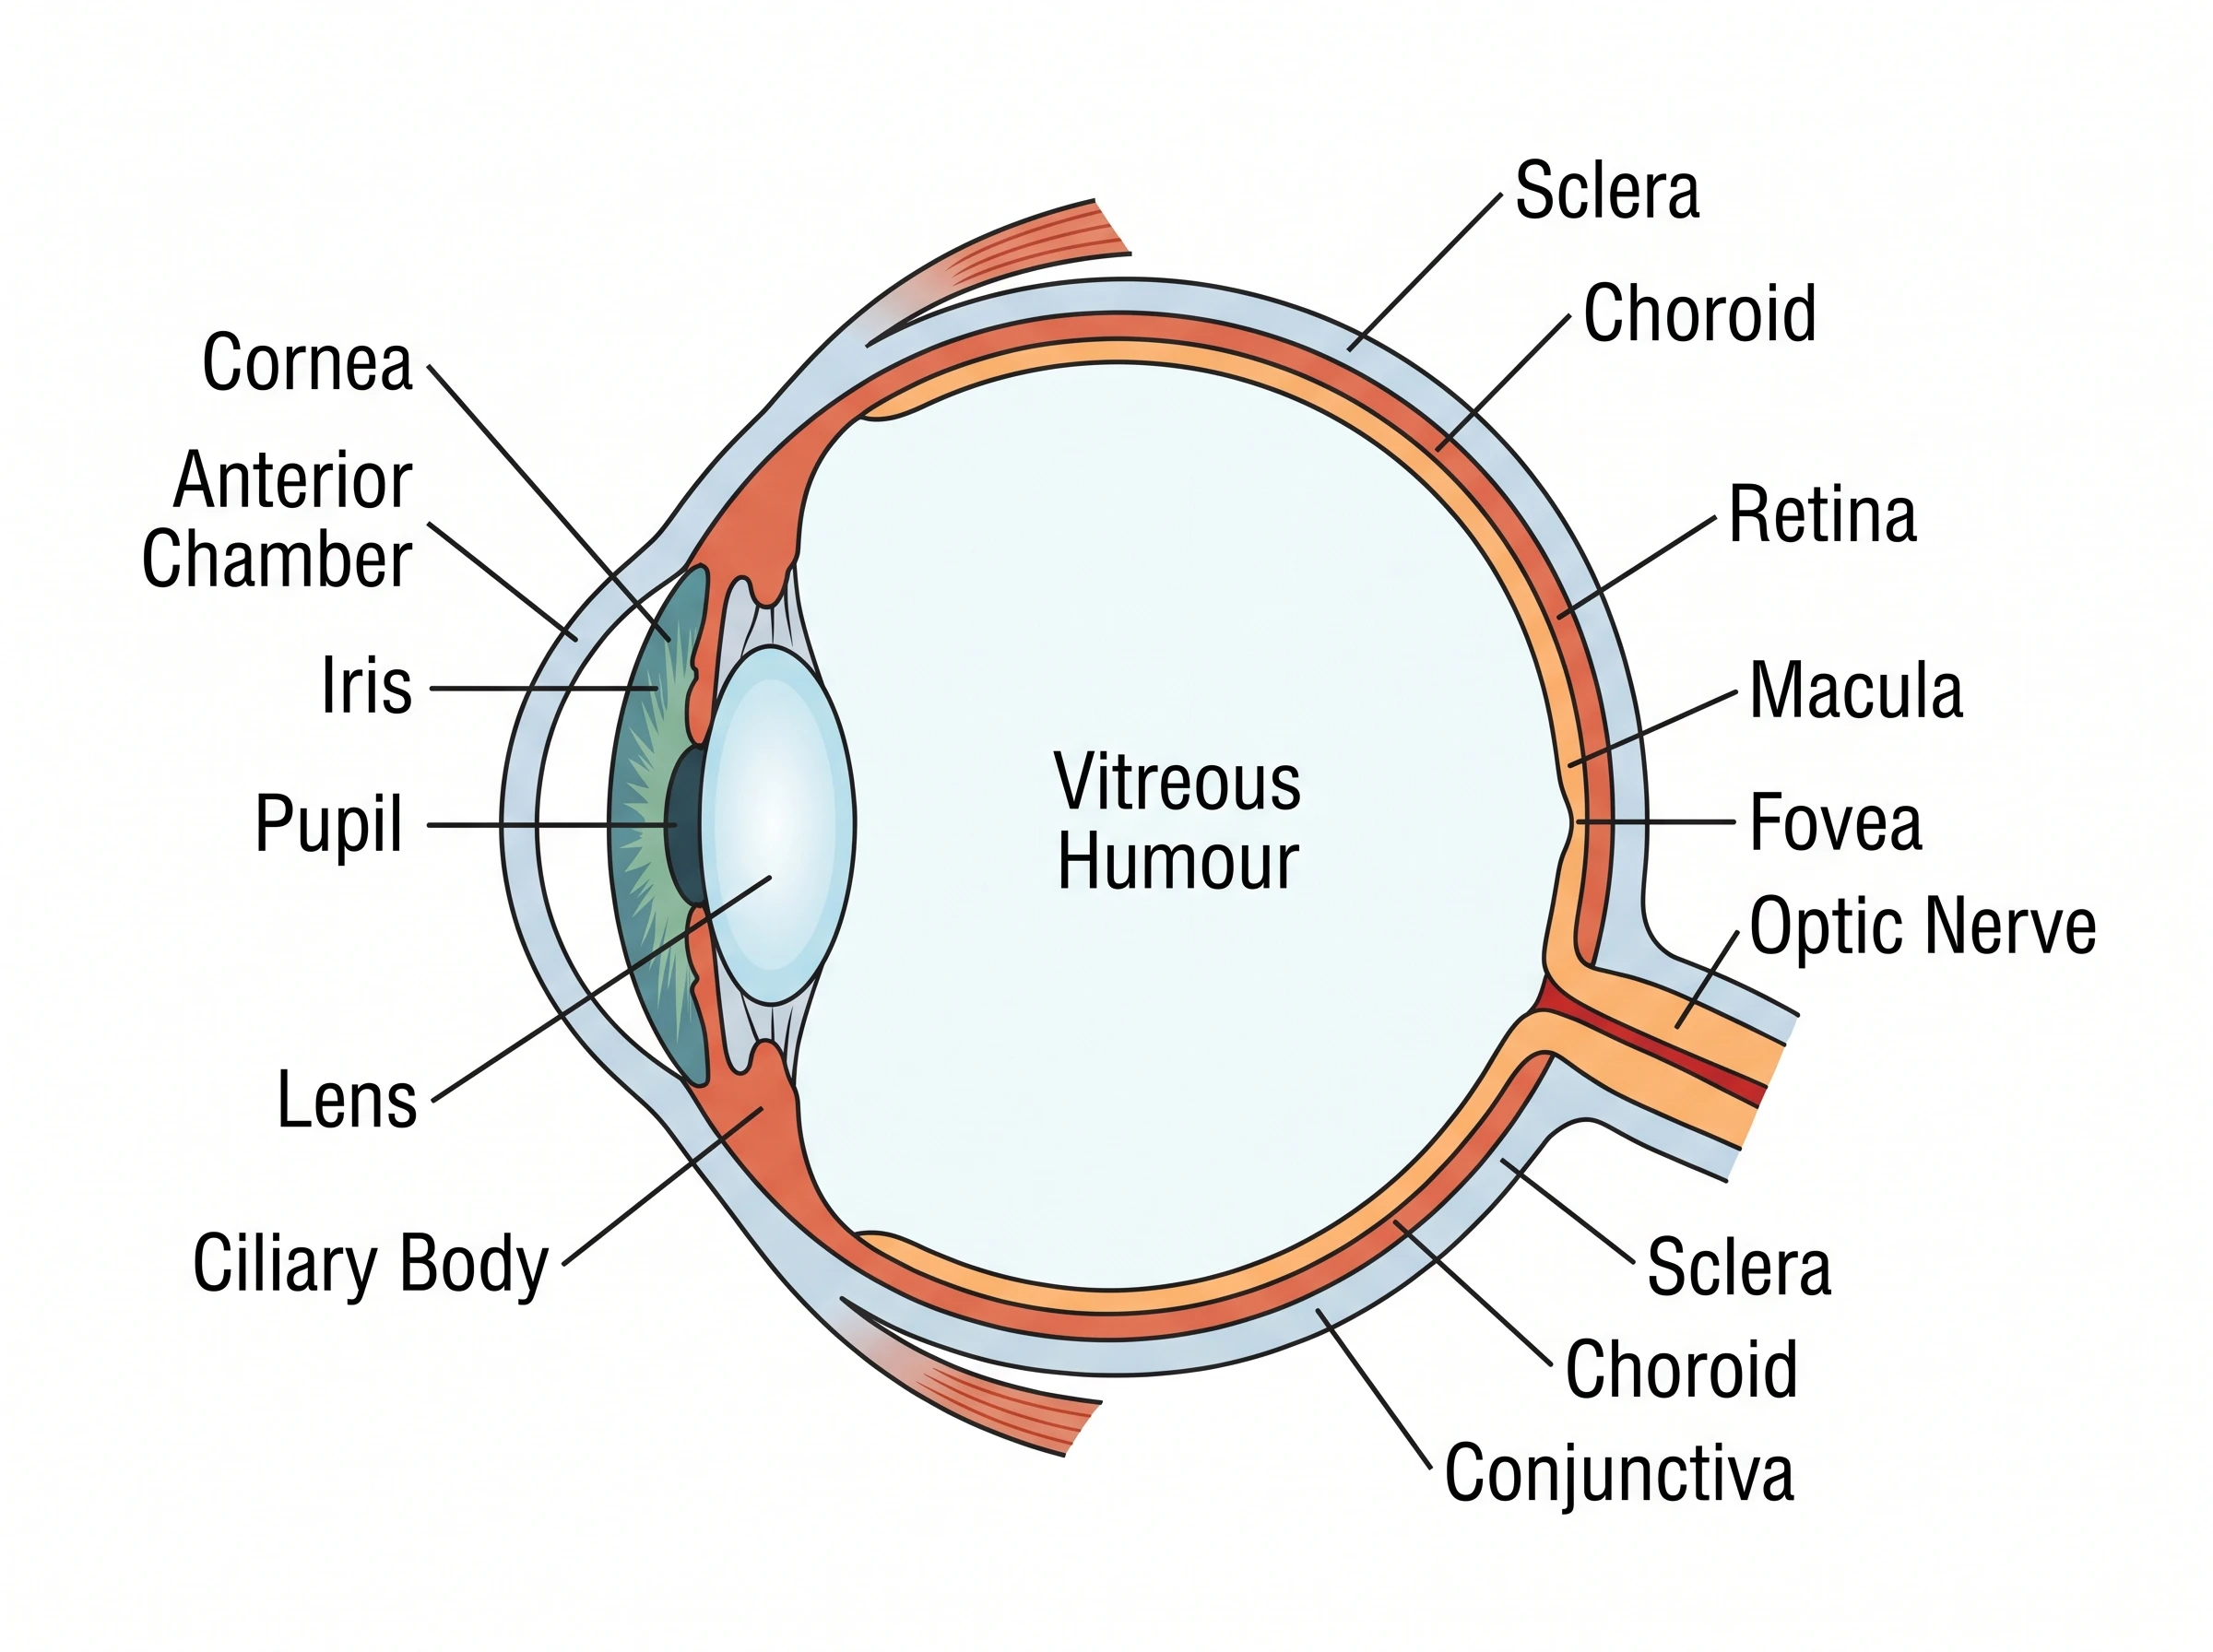 Medical
Eye Anatomy Diagram Generator
Create labeled eye diagrams: cornea, lens, retina, optic nerve, and how vision works.
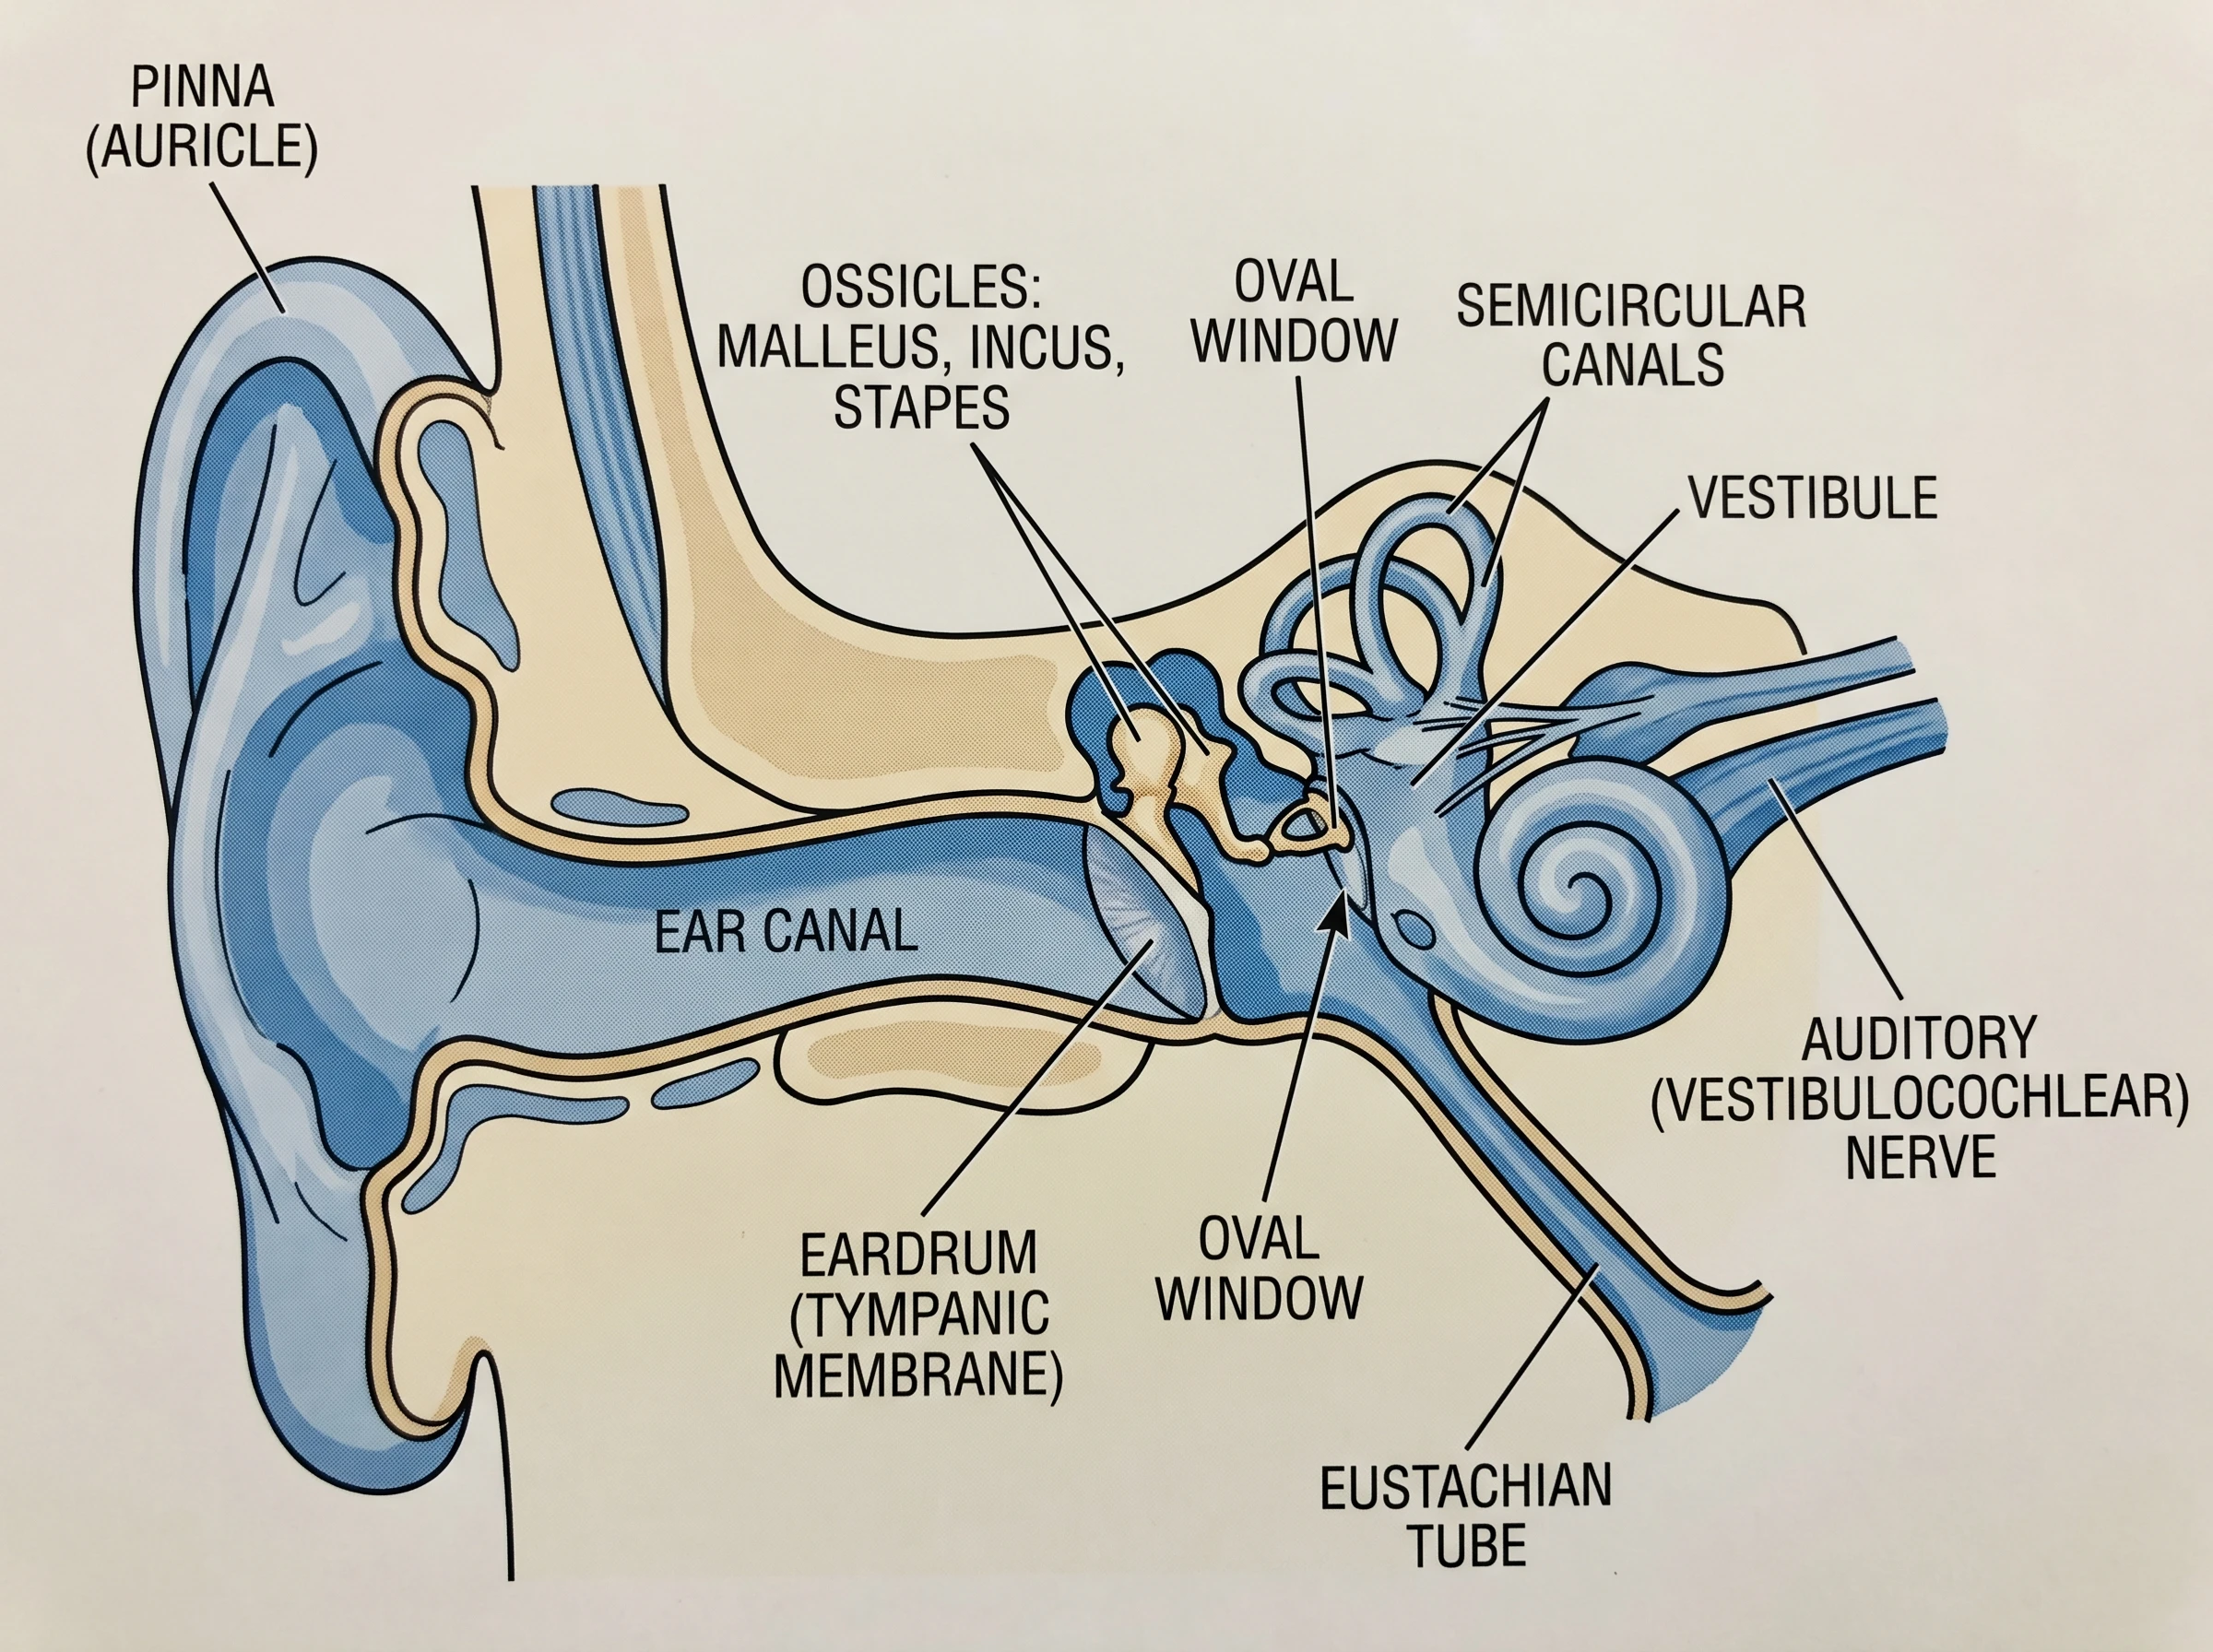 Medical
Ear Anatomy Diagram Generator
Create labeled ear diagrams of the outer, middle, and inner ear.