How to Use ConceptViz Studio: The Complete Guide
Master ConceptViz Studio: prompts, rules, styles, @ mentions, voice input, and output settings. A step-by-step guide to generating consistent visuals faster.
Get More Out of ConceptViz Studio
Most people open ConceptViz Studio, type a prompt, and generate an image. That works, but it barely scratches the surface. The Studio is built for people who generate many related visuals: a teacher building a full unit of worksheets, a researcher illustrating a paper, an author producing figures for a whole book. For that kind of work, the real time-savers are the features that let you set your requirements once and reuse them across every image.
This guide walks through the whole workspace, then shows you exactly how to use the reusable Prompt Templates, Rules, and Styles that keep your output consistent, plus the smaller power features that most people miss.
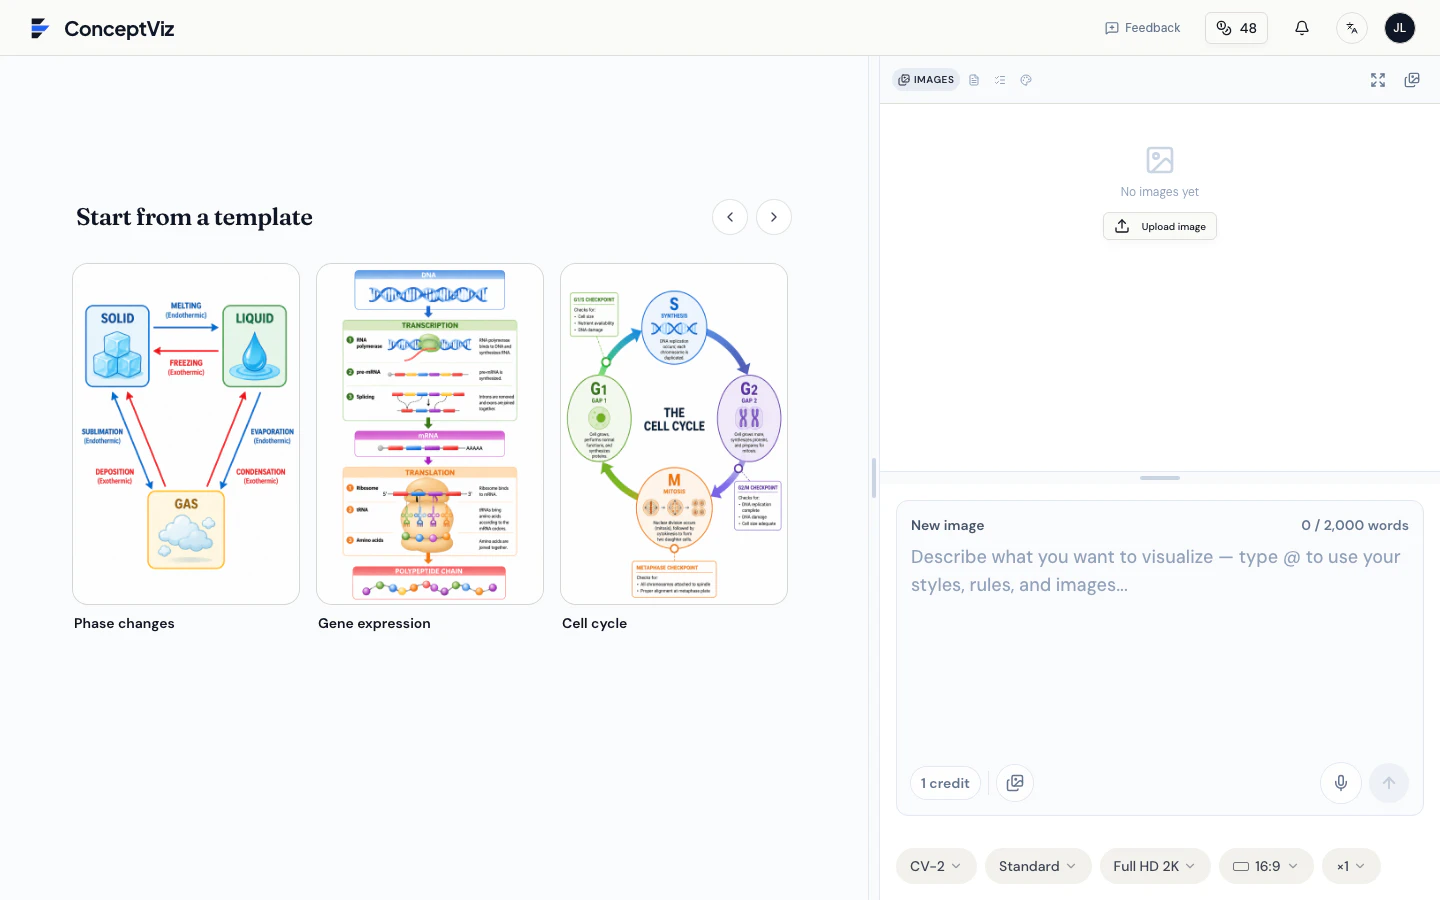
ConceptViz Studio
Turn any idea into a clear, labeled educational visual. Type a prompt, attach your reusable styles and rules, and generate.
Open Studio →1. A Five-Minute Quick Start
If you have never generated an image before, here is the shortest path to your first result.
Describe what you want. Click the prompt box on the right and type a plain-English description, for example "Cross-section of a plant leaf showing the epidermis, palisade layer, spongy layer, and stomata, with labels."
Pick your output settings. Below the prompt box you will find the model, quality, resolution, aspect ratio, and number of variants. The defaults are fine for a first try.
Generate. Press the blue arrow. Your image appears in the panel on the right, where you can download it, edit it, or use it as a reference for the next one.
That is the whole loop. Everything below is about doing it faster and more consistently once you are generating more than one image.
2. Understanding the Workspace
The Studio is split into two halves. The left side shows templates and your generated images. The right side is where you work: an Assets area at the top and a prompt composer at the bottom.
The part worth learning is the row of four tabs at the top of the assets panel:
- Images — reference images you upload or reuse from earlier generations.
- Prompts — saved, reusable blocks of prompt text (Prompt Templates).
- Rules — requirements that should always be followed while active.
- Styles — a reusable visual look, built from one to three reference images.
Prompts, Rules, and Styles are what we call reusable assets. Create them once, and you can attach them to any generation without retyping. This is the single biggest workflow upgrade in the Studio, so the next three sections cover it in detail.
3. Reusable Assets: Prompts, Rules, and Styles
It helps to be precise about what each of the three does, because they solve different problems.
Prompt Templates are reusable text. Use them for instructions or structure you repeat across many images, so you are not copy-pasting the same paragraph every time.
Rules are standing requirements. While a Rule is active, it is applied to every generation, which makes it perfect for constraints like "keep all text large and readable" or "label everything in English."
Styles control the visual look. You build a Style from one to three reference images that best represent the look you want, save it once, and reuse it across an entire project so every figure matches.
Creating an asset
There are two ways to create your first asset.
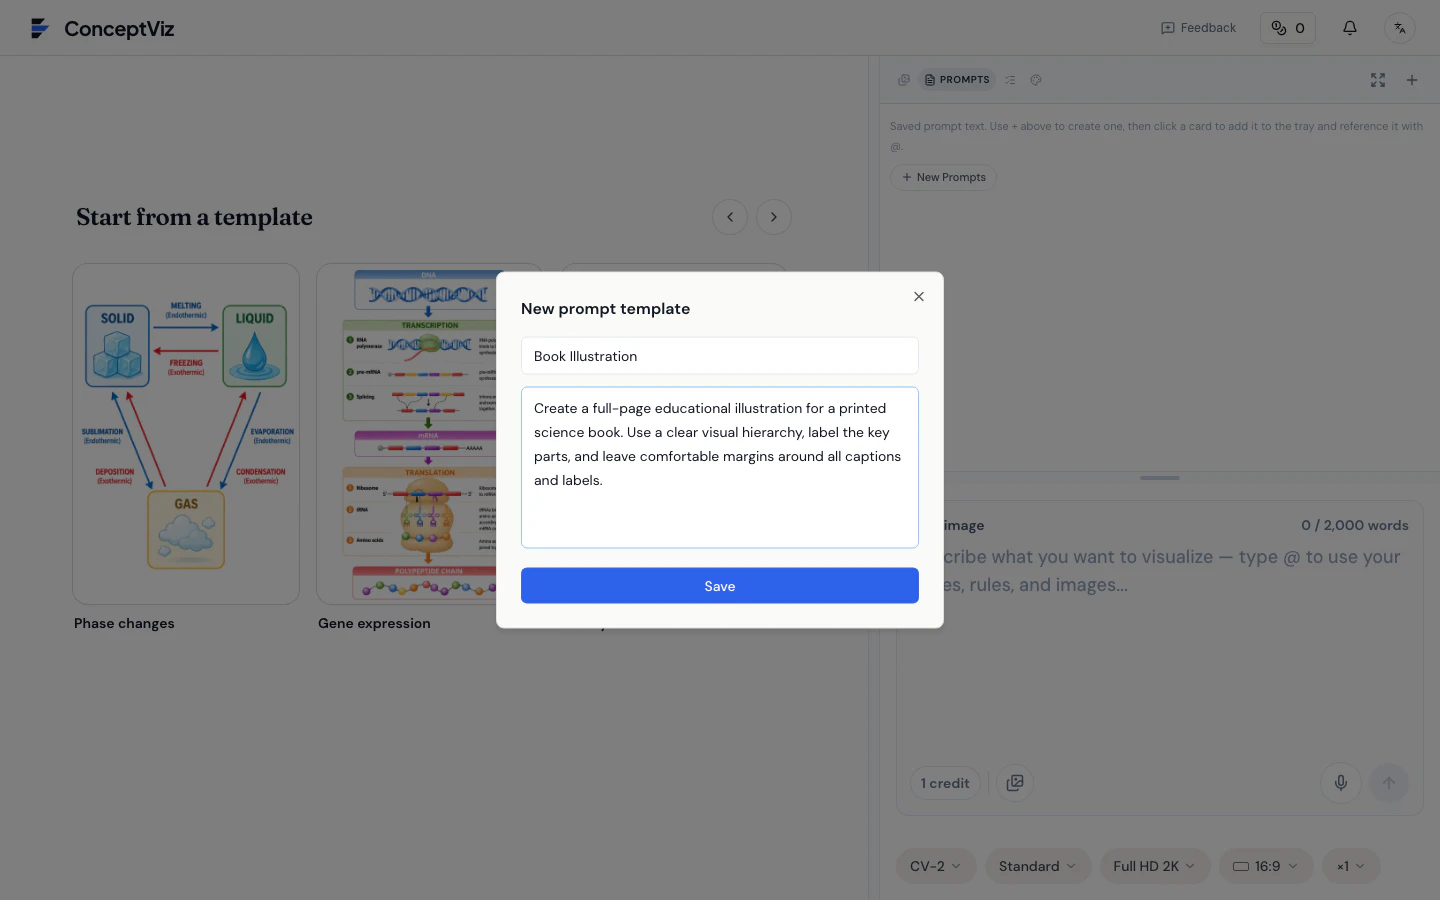
The first is to open the Prompts, Rules, or Styles tab and click the New button. You give the asset a name (which becomes its @handle) and its content, then save.
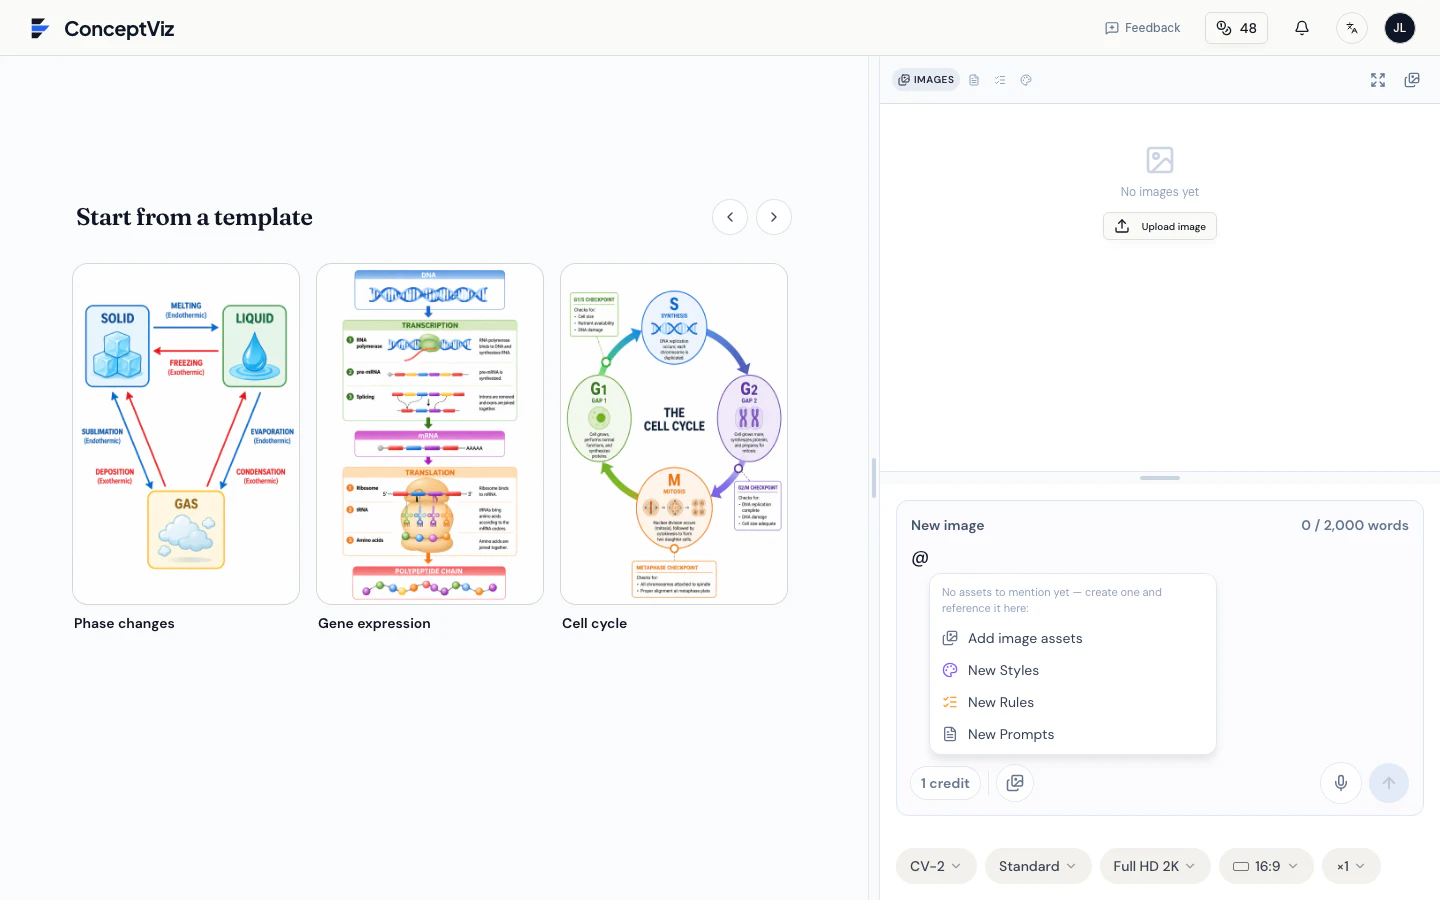
The second way is even quicker: just type @ in the prompt box. If you do not have any saved assets yet, a menu appears offering to create a new Style, Rule, or Prompt Template on the spot.
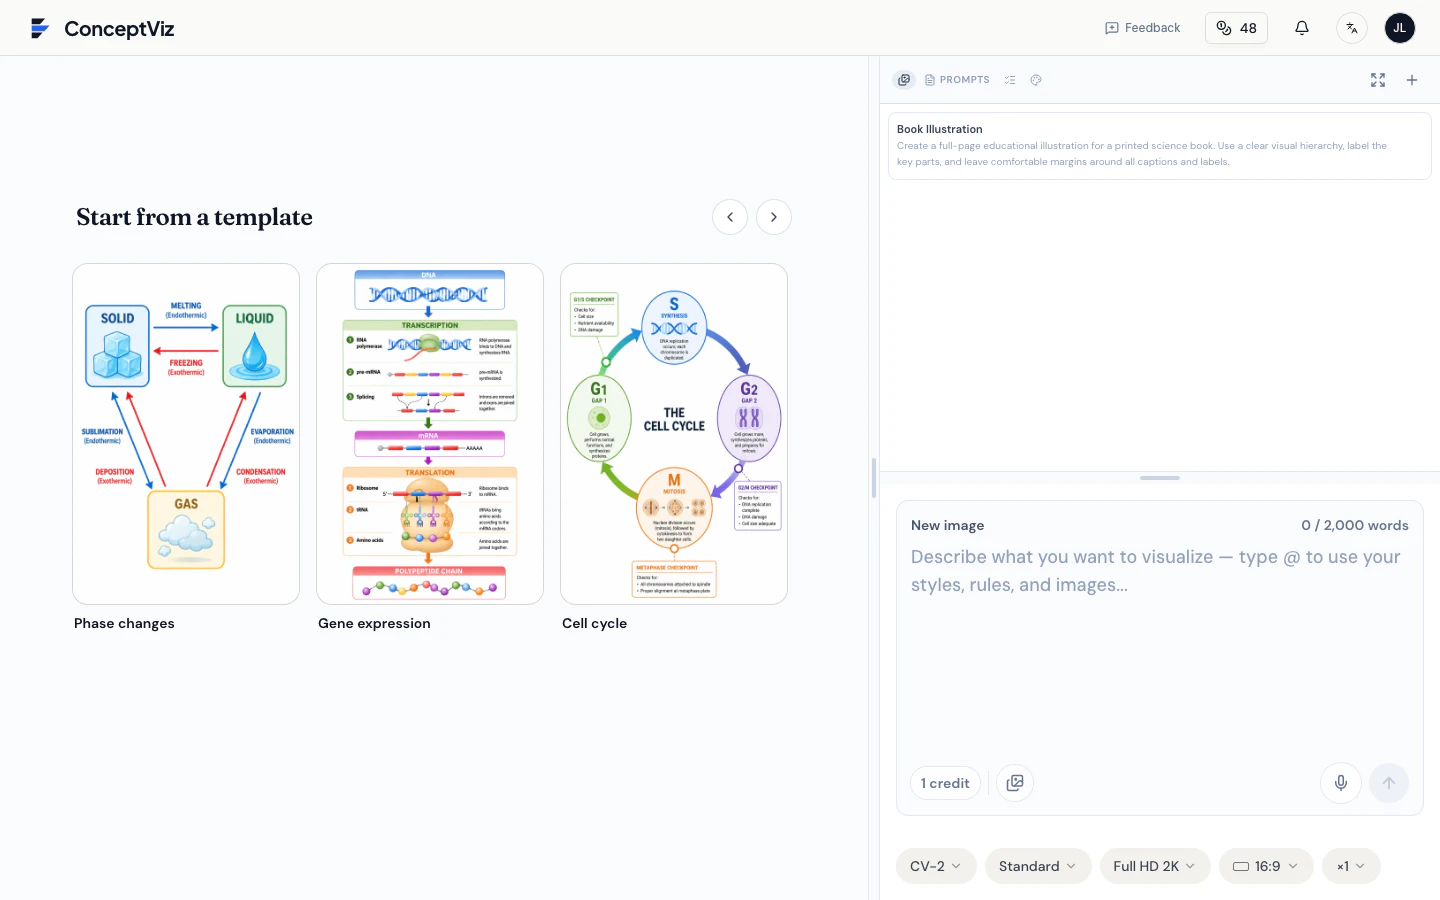
Once saved, your asset shows up as a card in its tab.
Using an asset with @
To use saved assets in a generation, type @ in the prompt box. A Mention an asset menu lists everything you have saved, tagged by type, so you can search and pick.
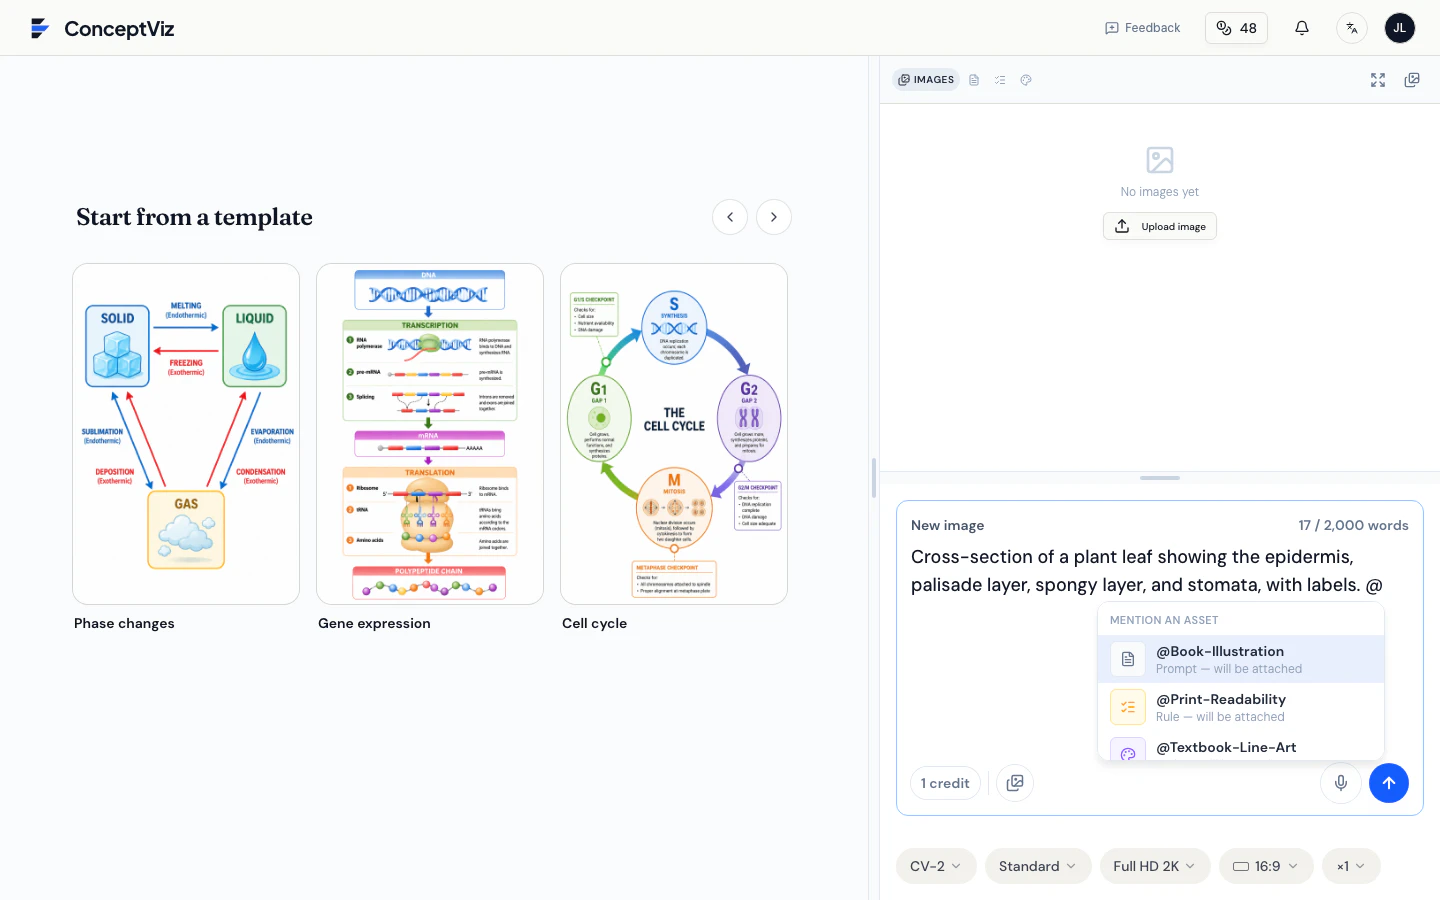
When you select an asset, it appears as a colored chip above the prompt box. That chip is the signal that the asset is active and will be applied to this generation. You can attach a Prompt, a Rule, and a Style together.
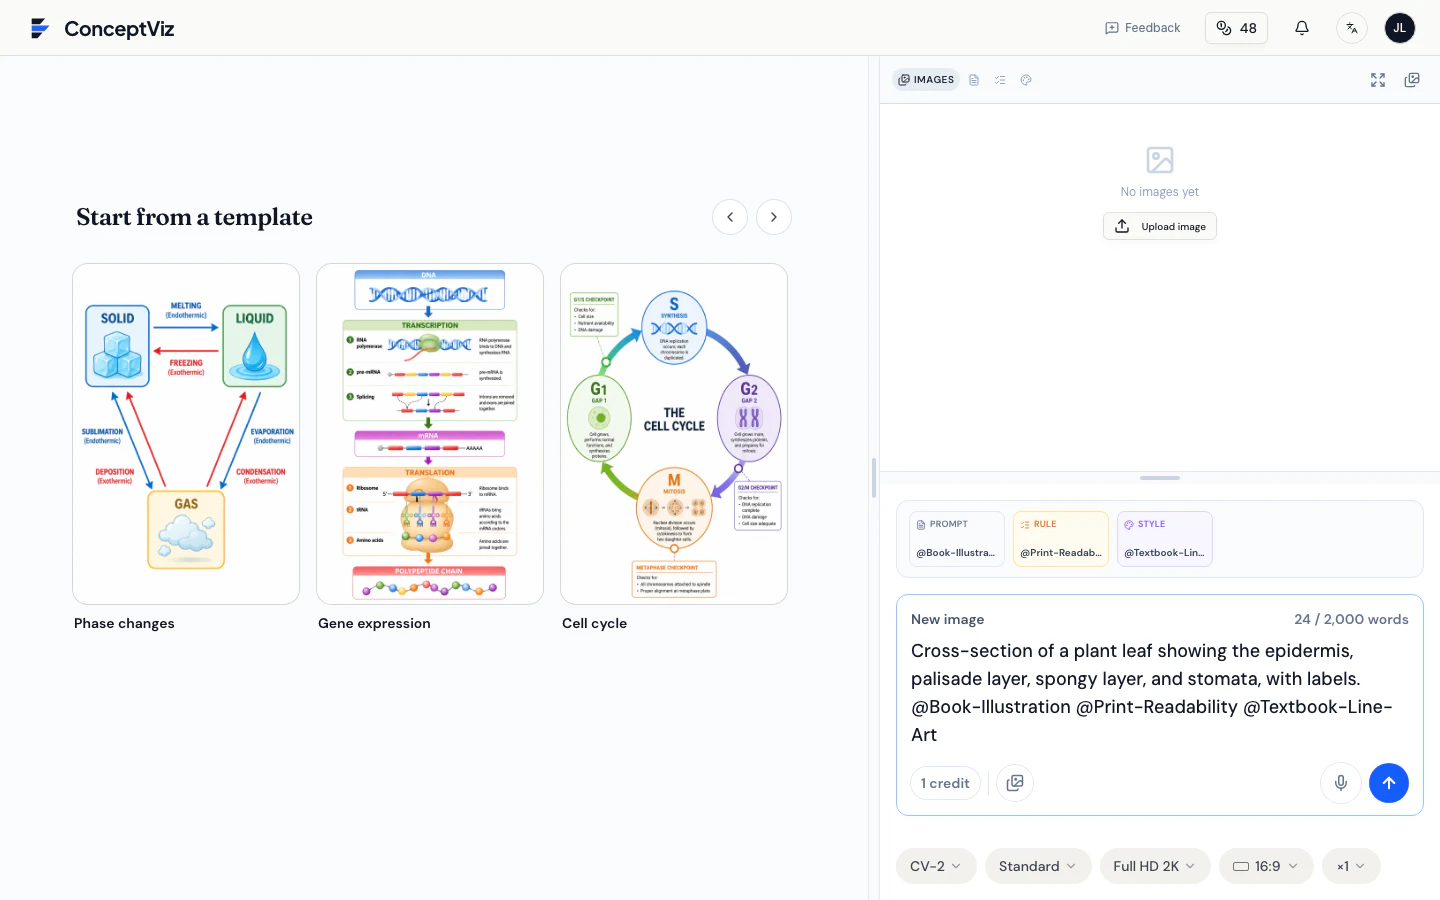
The chips stay attached as you move from one prompt to the next. That is the whole point: you only change the unique subject of each image, while the same style, rules, and shared instructions carry over automatically. To remove one, click the small × on its chip.
4. A Complete Example
Say you are illustrating a printed science textbook and need 100+ figures that all look like they belong in the same book. Here is how the pieces fit together.
Create a Style named Textbook Line Art, using one to three of your best existing figures as references. This captures the visual look.
Create a Rule named Print Readability: "Use large, high-contrast text. Avoid tiny labels, thin lettering, crowded callouts, and low-contrast gray text. Keep clear spacing around every caption." This protects legibility in print.
Create a Prompt Template named Book Illustration with the instructions every figure shares: "Create a full-page educational illustration for a printed science book. Use a clear visual hierarchy, label the key parts, and leave comfortable margins around all captions and labels."
For each figure, write only what is unique and attach the three assets with @. For example:
"Cross-section of a plant leaf showing the epidermis, palisade layer, spongy layer, and stomata, with labels. @Book-Illustration @Print-Readability @Textbook-Line-Art"
Now every figure changes only its subject while reusing the same look, the same print rules, and the same shared instructions. That is the difference between generating one image and running a project.
Test your setup on three to five images first. Refine the Style and Rule until the results are consistent, then generate the rest. Fixing the recipe early saves far more time than fixing images later.
5. Power Features Most People Miss
A few smaller features quietly make a big difference:
- Voice input. Press and hold the microphone button next to the prompt box, speak your description, and release. Your words are added to the prompt, where you can review or edit them before generating. It is often faster than typing a long prompt.
- Parallel generations. You do not have to wait for one image to finish before starting the next. Kick off several and let them run together.
- Variants are not multiple prompts. The variants control (
×1,×2, …) produces several versions of the same prompt, not several different images. Use it to explore options for one figure, not to batch different figures. - Reuse earlier images as references. Any image in your history can be dropped back into a new prompt as a reference with
@, which is useful for keeping a series visually consistent.
6. Output Settings
The controls below the prompt box are separate from your Style and Rules, and it is worth knowing what each does:
- Resolution. Standard resolutions are fine for on-screen use; step up to a higher resolution when you need print-quality output.
- Aspect ratio. Set this to match where the image will live (a 16:9 slide, a 3:4 book page, and so on). The ratio is chosen here, not in the prompt text.
- Quality / model. Higher-quality modes take a little longer but produce cleaner results for final work; the faster modes are good for quick exploration.
A common mistake is writing the aspect ratio into the prompt but forgetting to select it in the settings. The output settings win, so always set the ratio in the controls.
7. Common Pitfalls
If your results feel inconsistent or fiddly, it is usually one of these:
- Stuffing every requirement into each prompt. That is exactly what Rules and Prompt Templates are for. Move the repeated parts into reusable assets.
- Creating an asset but not activating it. An asset only applies when its chip is showing above the prompt box. If you do not see the chip, it is not being used.
- Setting the aspect ratio in the prompt instead of the controls. Use the output settings.
- Treating variants as a batch tool. Variants are versions of one prompt, not a way to run many different prompts.
- Generating a large batch before testing. Always validate the recipe on a handful of images first.
Start Building Your Workflow
The Studio rewards a little setup. Spend ten minutes creating a Style, a Rule, and a Prompt Template for your project, and every image after that becomes a matter of describing the one thing that changed. Consistent output, far less typing.
ConceptViz Studio
Set up your reusable styles and rules once, then generate a whole project's worth of consistent visuals.
Open Studio →More Posts
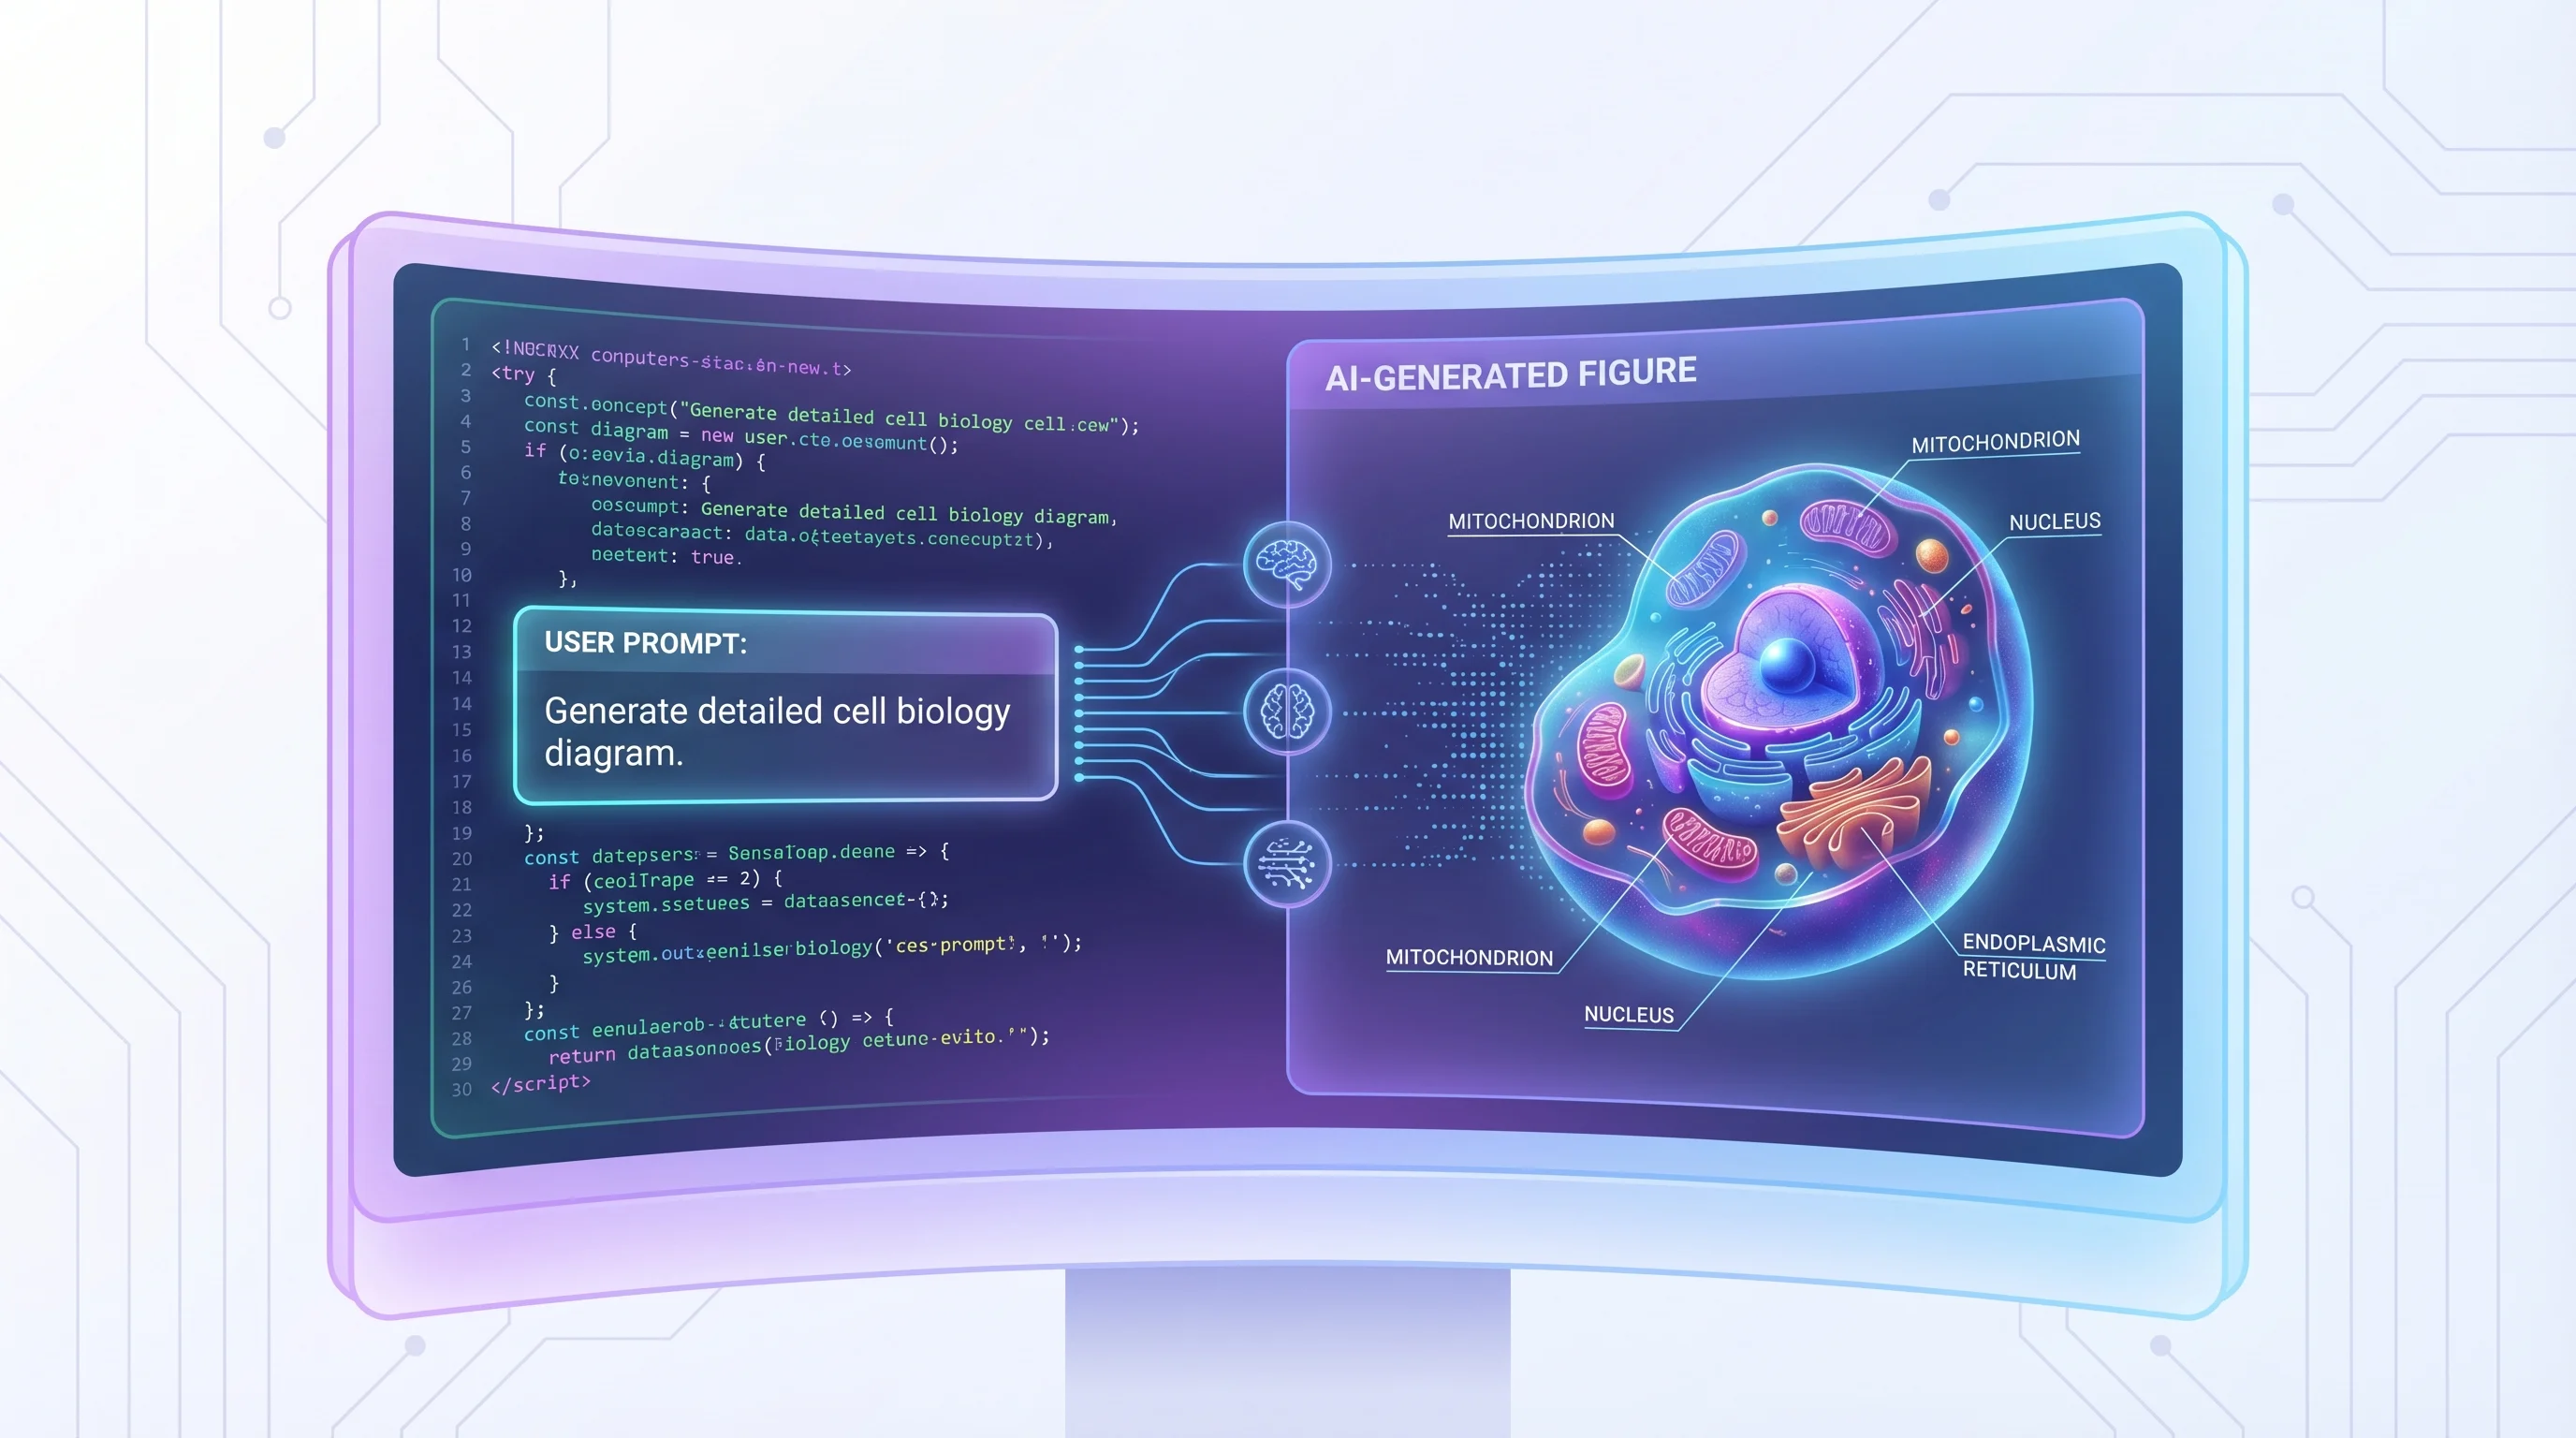
Best AI Scientific Illustration Tools and Software (2026)
Scientific illustration software for each paper figure step: BioRender, Prism, Illustrator, Inkscape, and AI tools. Prices checked October 2026.
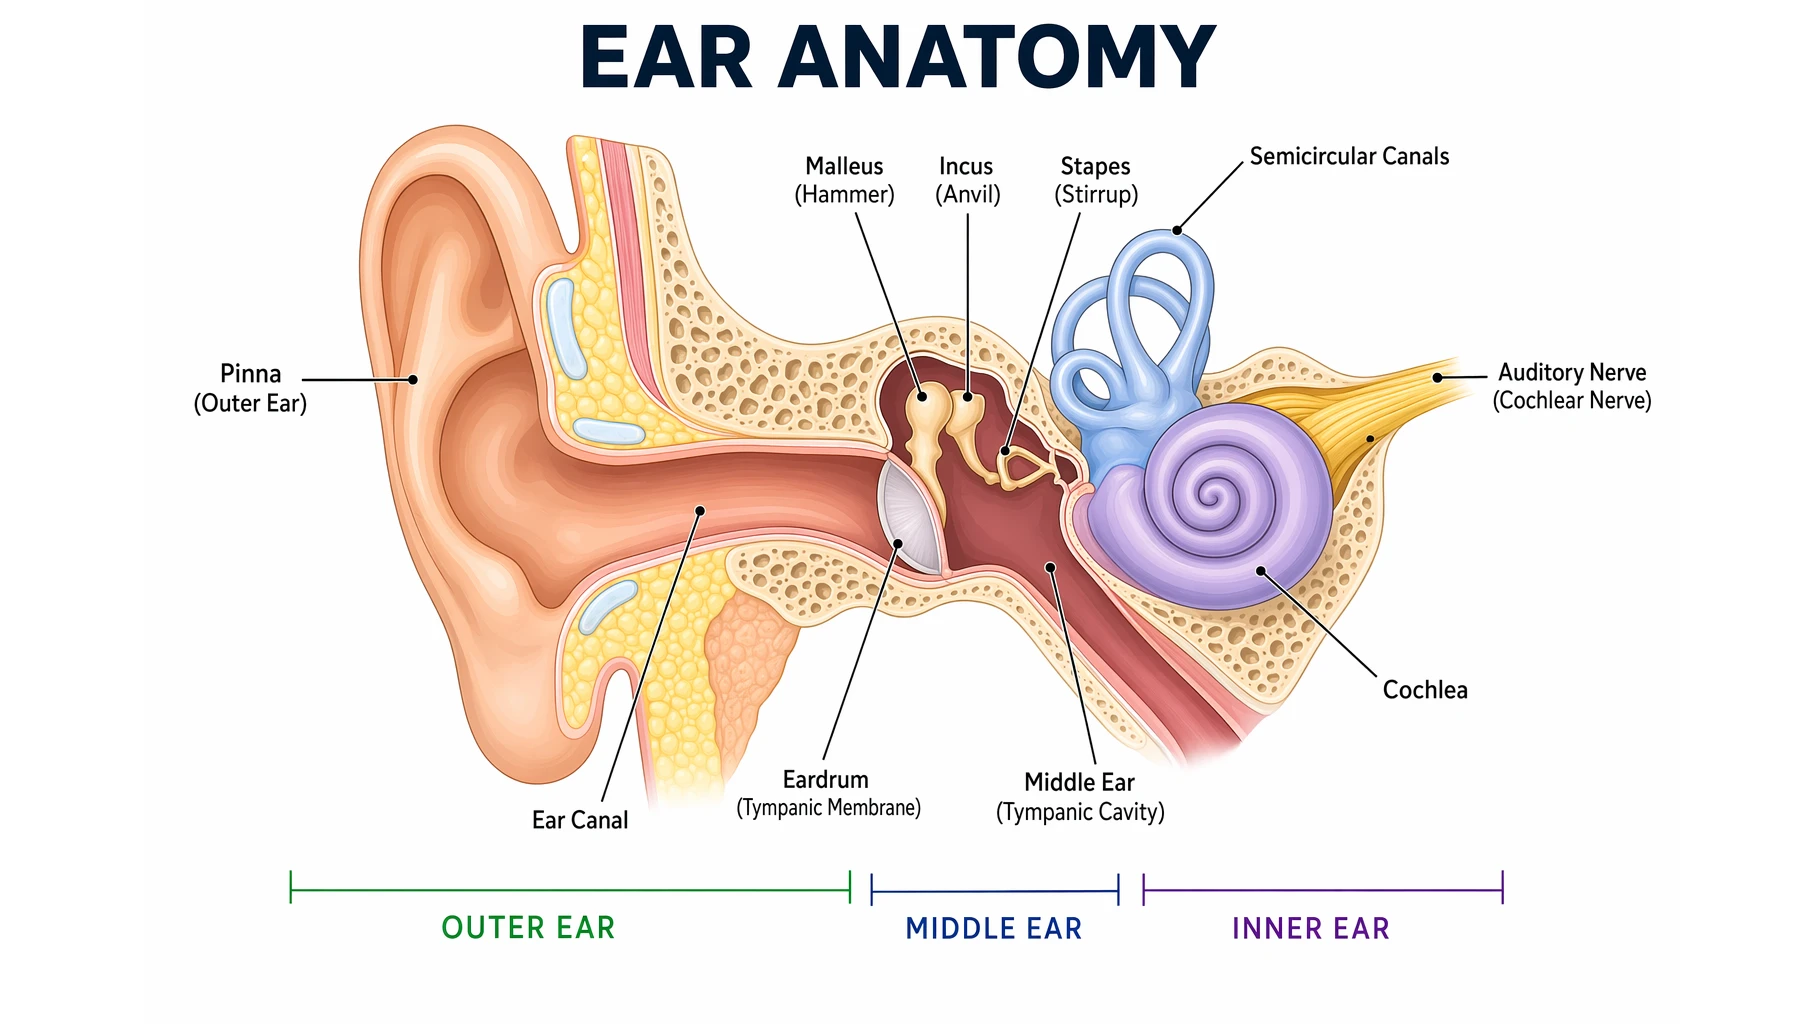
Ear Anatomy: Parts of the Human Ear Explained
Learn human ear anatomy: the outer ear (pinna, ear canal), middle ear (eardrum, ossicles), and inner ear (cochlea, semicircular canals), plus how hearing works.
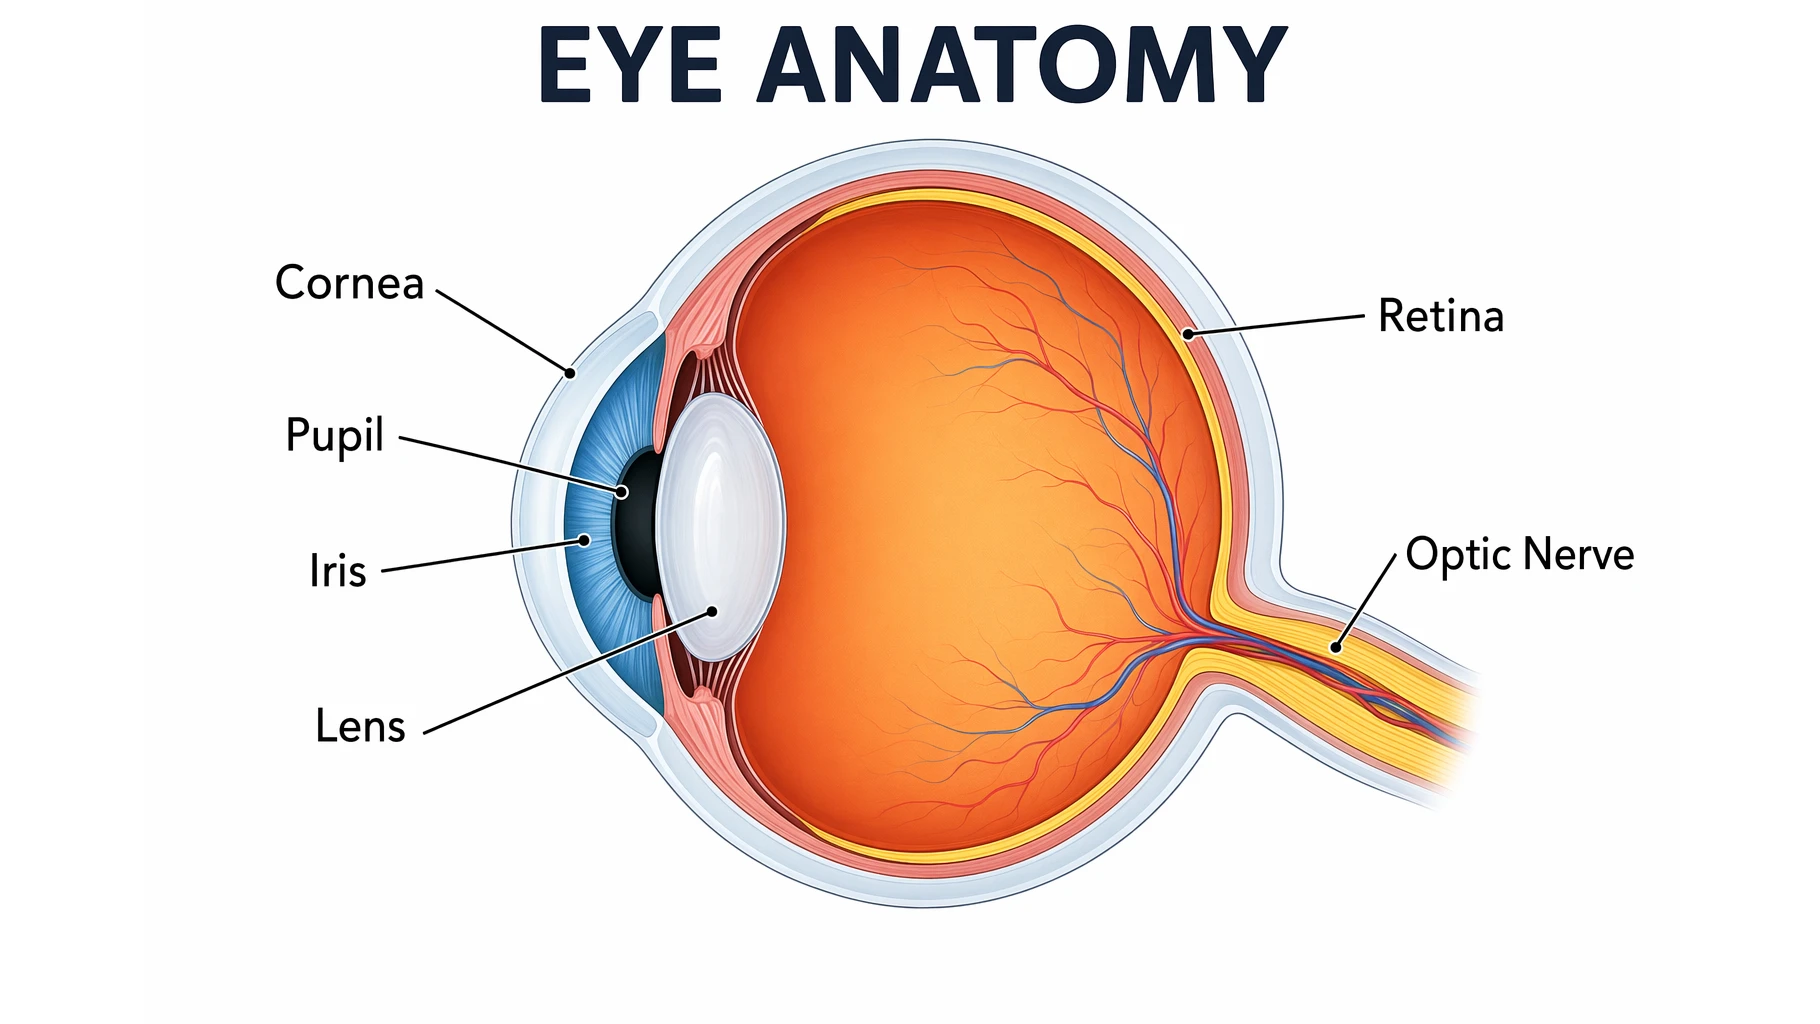
Eye Anatomy: The Parts of the Human Eye Explained
A clear guide to eye anatomy: the cornea, iris, pupil, lens, retina, and optic nerve, what each part does, how vision works, and how to read an eye diagram.